Get Premium
Dark mode theme is available exclusively for premium users. Learn more about the benefits of subscribing.
No fees, cancel anytime.

 Dark Mode Ad-Free Browsing Unlimited Content
 Ad-Free Browsing Unlimited Content Dark Mode
Join 1.2 million Panda readers who get the best art, memes, and fun stories every week!
Before you toss that sad-looking side table or give up on grandma's vintage dresser, let Reddit's restoration warriors show you what's possible. These aren't your standard "splash some paint on it" transformations – we're talking about full-blown resurrections that turn marketplace rejects into pieces worthy of bidding wars. Between furniture that went from dumpster-bound to divine and floors that rose from the dead like wooden phoenixes, these 17 projects prove that "trash to treasure" isn't just a cute saying – it's an art form.
Scroll through these before-and-afters and watch your DIY confidence soar. Redditors took on everything from neglected pools that looked like swamp monster habitats to worse-for-wear cars that seemed destined for the scrapyard, turning lost causes into legendary comebacks. Each restoration tells a story of someone who looked at something broken and thought "challenge accepted." Whether breathing new life into threadbare clothes or reviving furniture that survived multiple decades of questionable taste, these projects showcase what happens when determination meets sandpaper and a whole lot of patience.
This post may include affiliate links.
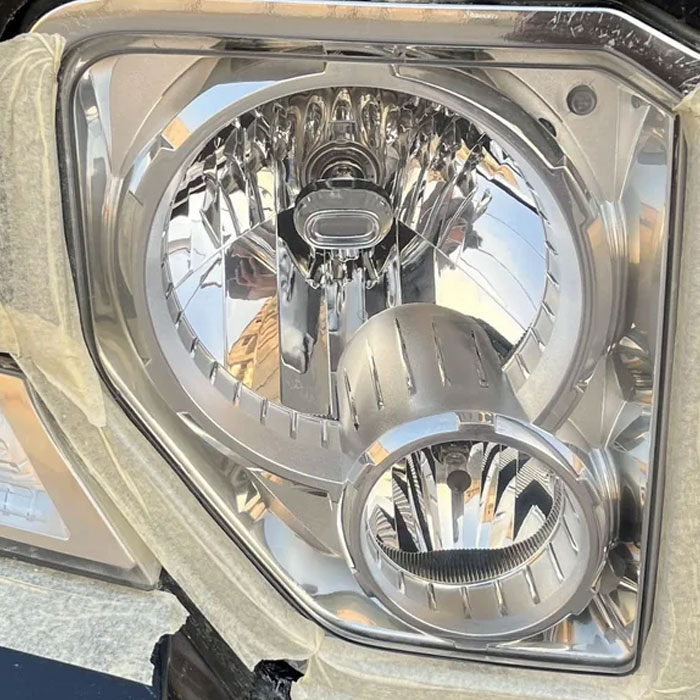
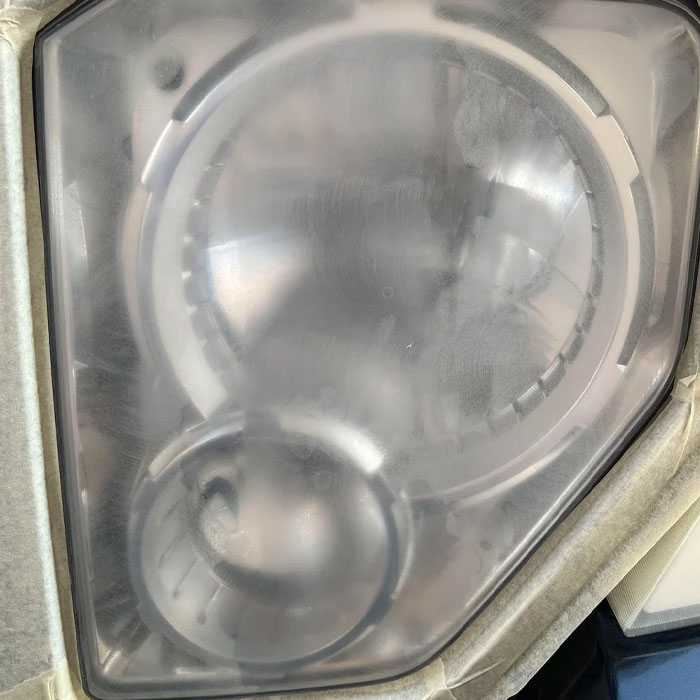
"First time DIY headlight restoration." - dizzyday
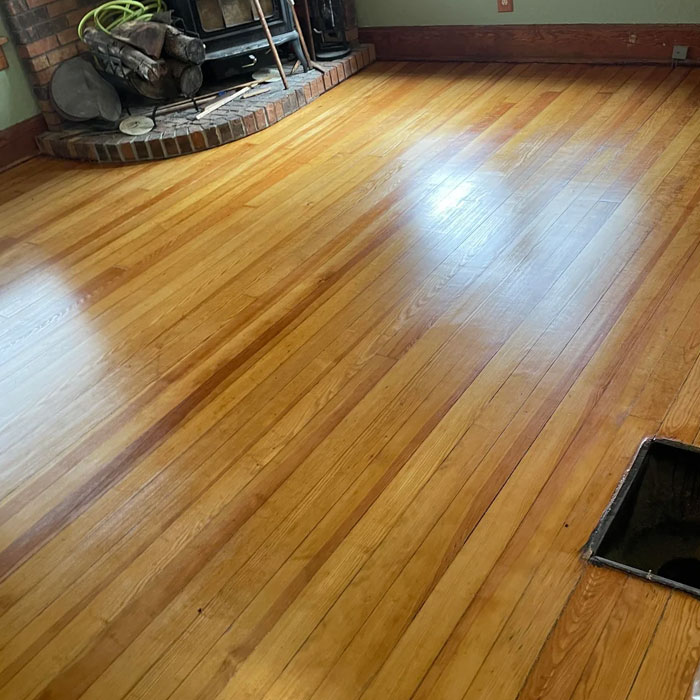
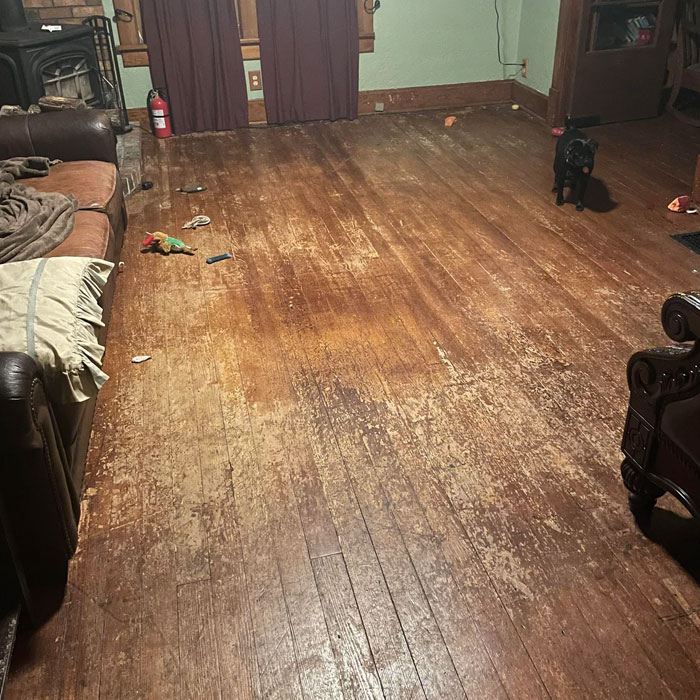
"Don’t know if this belongs on this sub. The previous owners of our 1918 home put a cheap ugly finish on the floors. Second photo is the refinished result." - charliepuppers
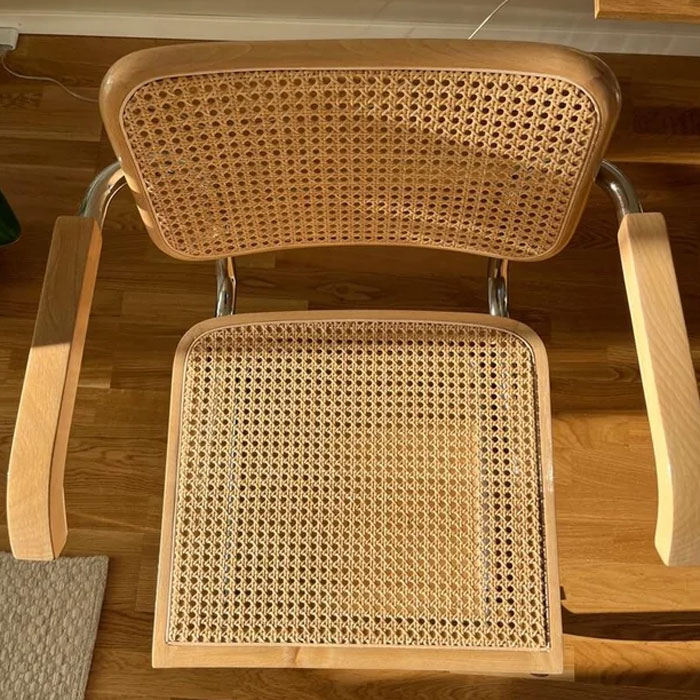
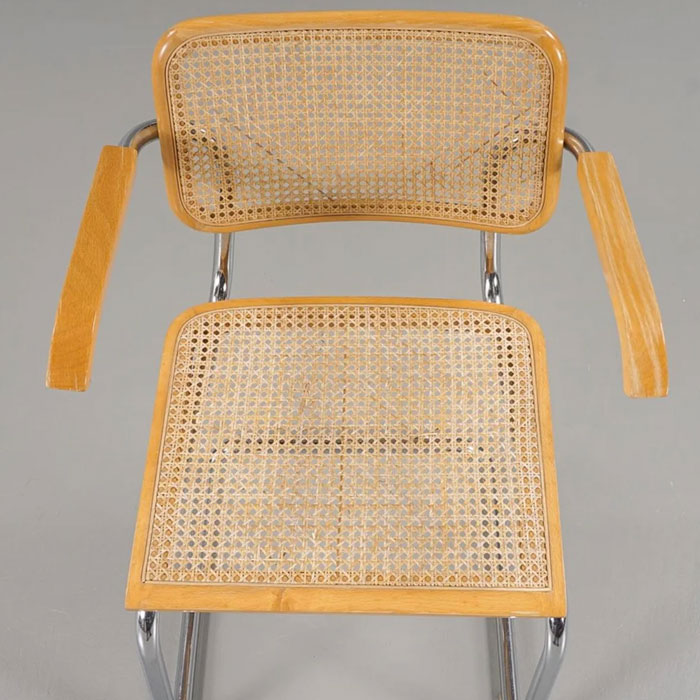
"Reupholstered and refinished. Before and after photos. Very satisfied with the end result Although I like the aged tone in the wood more it feels good to be able to witness the aging progress on my own now when it’s sanded down to its natural tone." - papadoumian
"Restoring old plastic Adirondack chairs. Our plastic chairs were fairly old and sunburned. They would leave our hands (and bums) with a white residue and felt very rough to the touch. Using a plumber’s handheld propane tank, heating the top layer of plastic melts it and restores it to a new finish. Before (right) and After (left) picture. I saw this somewhere years ago and figured it was worth a try, the wife had given up on the chairs anyway. Needless to say she was impressed with the result and ease of restoration (about 10 min/chair)." - usuallyGoodNatured
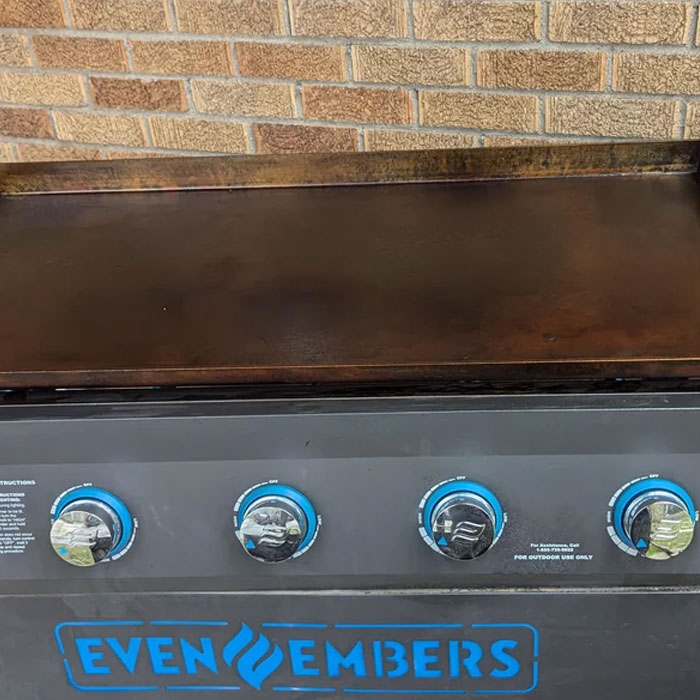
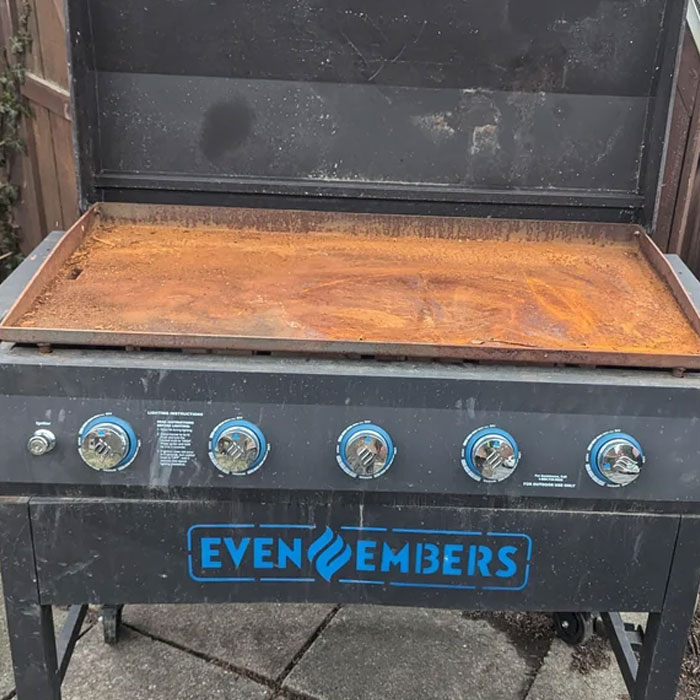
"Picked up this griddle for free on the side of the road. Had to replace the ignition switch and get a new gas line. Took a lot of elbow grease, but was worth the work." - FrientlyGamer
Better to take it to the local auto body shop and have them media blast it for you. Won't cost much and will take 15 minutes. Then bring home and season.
Restoration magic continues as we explore more projects that prove nothing's really dead until you decide it is. From careful cleaning to complete overhauls, these next transformations show why some things deserve a second chance at greatness.
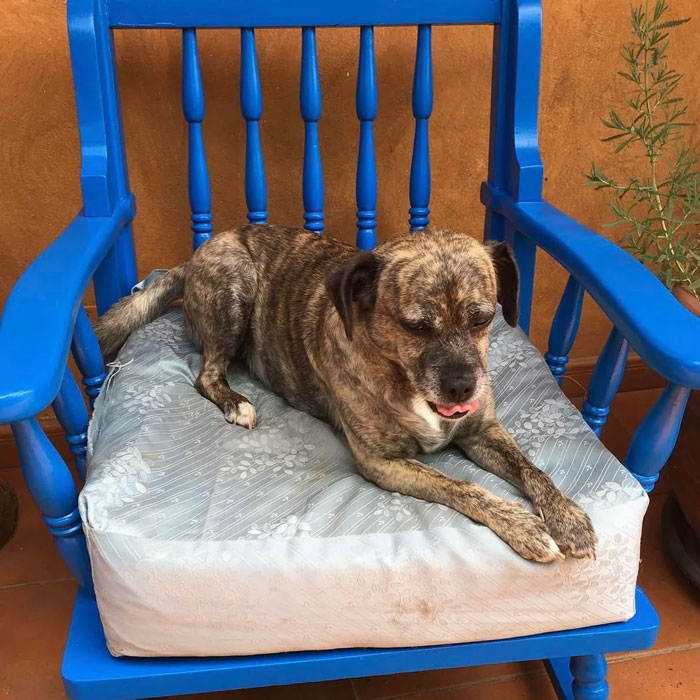
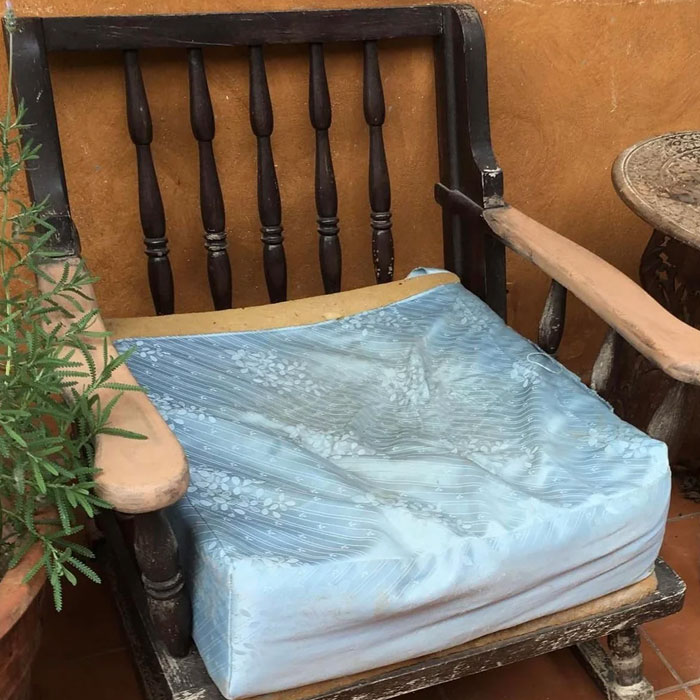
"Restored wooden chair over 60 years old." - Sofiavazquezxx
I don't know that it was really 'restored' but I'm sure they are happy with it
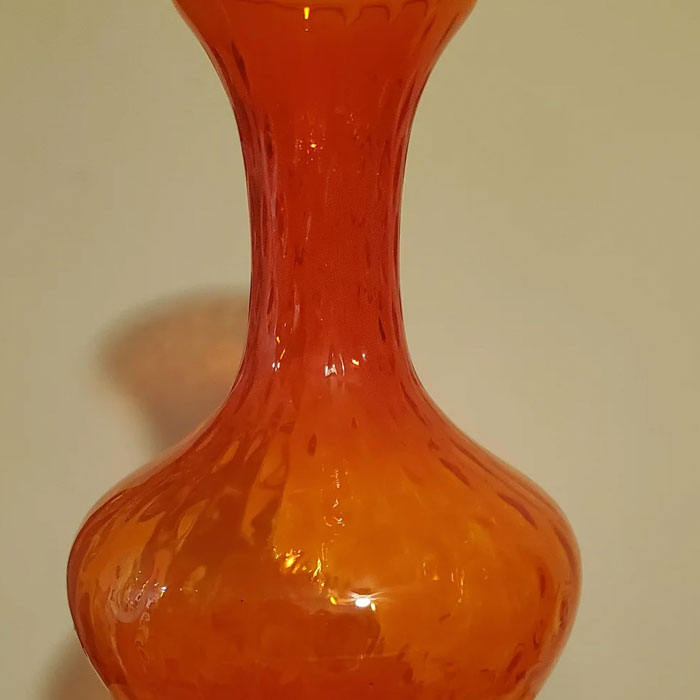
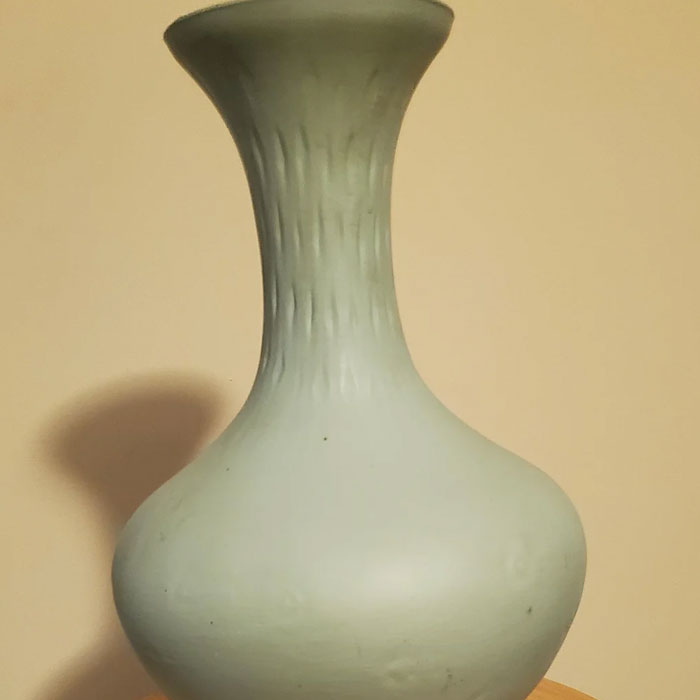
"Goodwill Vase: Saw the color inside and had to remove the paint. Purchased this vase after I noticed it's poor paint job and the beautiful orange inside. I couldn't wait to remove the paint!" - I_Am_A_Twin
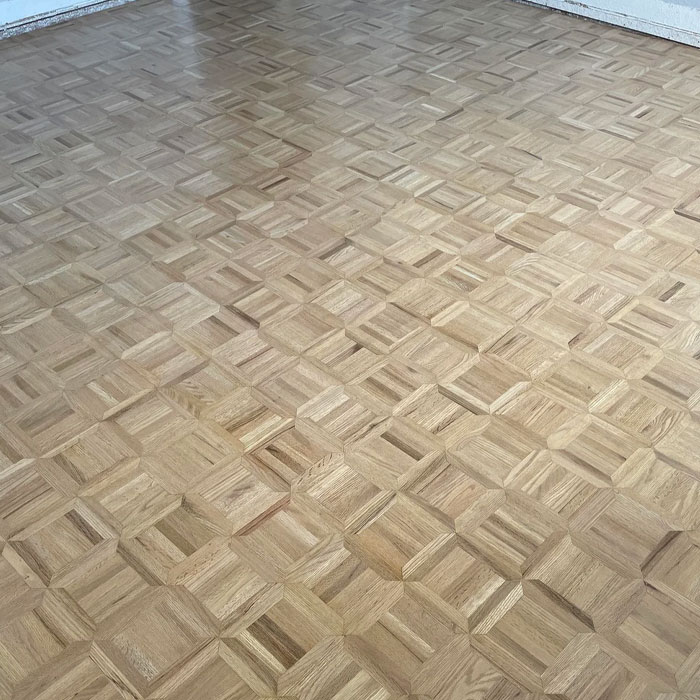
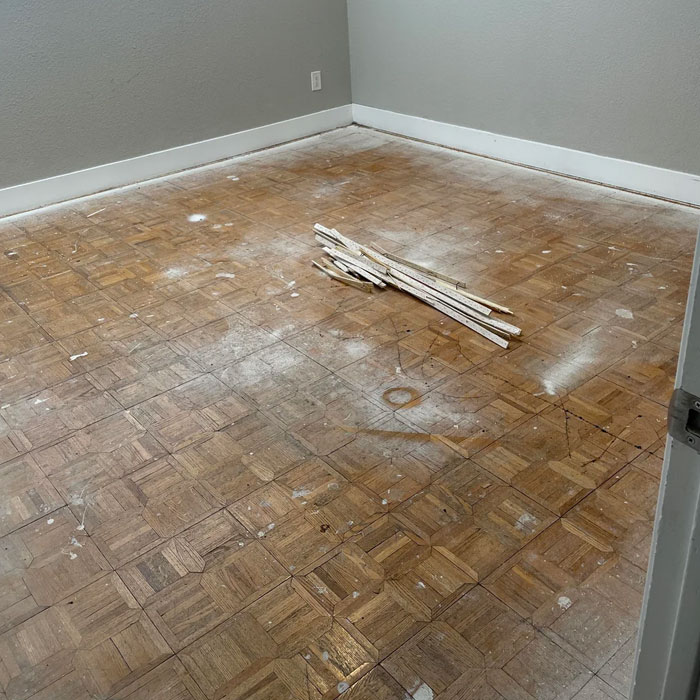
"DIY parquet flooring restoration. How’d I do? Found this beautiful oak parquet flooring underneath the carpet and decided to restore it with zero experience (risky I know) But I’m thrilled with how it turned out! Before -> sanded -> finished." - chucknorris_official
We used to have a parquet floor like this in the house my grandad built. It looked amazing when we used oil on it regularly, but when life gets busy and you don't have time for the upkeep it looks pretty average. I would still love to have it now, but mum sold the house and the new owners bulldozed the place. We took everything we could from the place before the sale (new owners were happy for us to do that) but taking up the floor was a job too big. It was all wood from trees that are protected now so a restorer would have loved it.
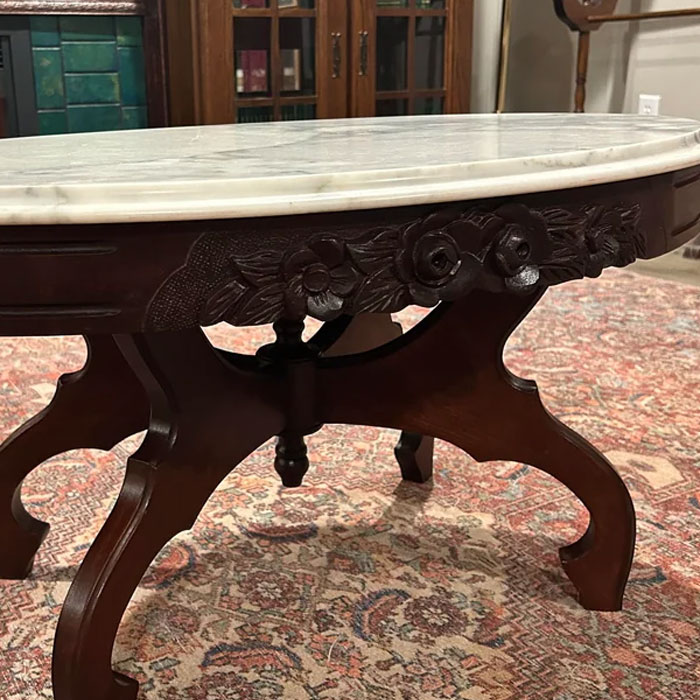
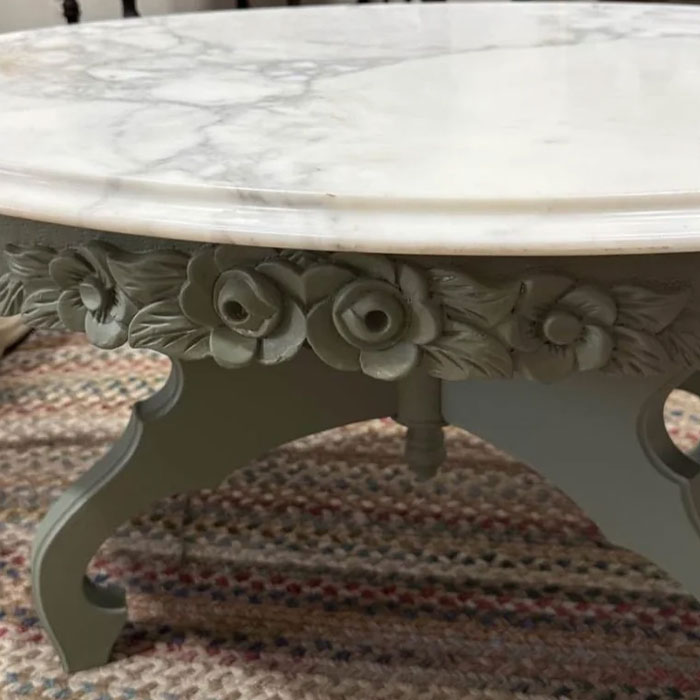
"We still needed the little coffee table though and everywhere I found them it was 300$ and up. Then it happened! One popped up on MP for $50 but it had been spray painted white then given a layer of sage green. After thinking it over we decided to chance it and I picked up. The paint was laid on THICK and had big dried drips running down the legs. It took a little over a week, many citristrip, scrubbing, sanding, picking paint out with clay sculpting tools, and trying to match the old stain on the rest of the set but we did and we cannot be more thrilled. It makes me want to find more pieces to bring back to their original state! " - Calthean
The time they would have had to spend on this makes my head spin
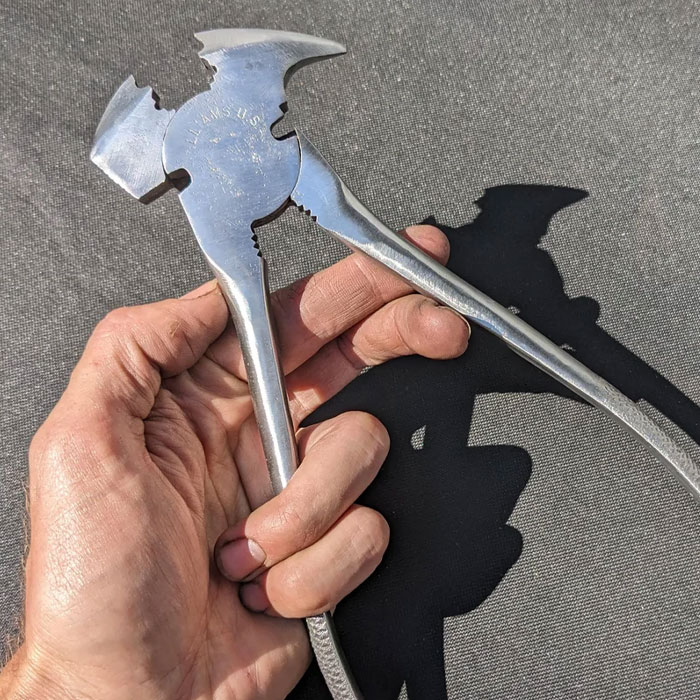
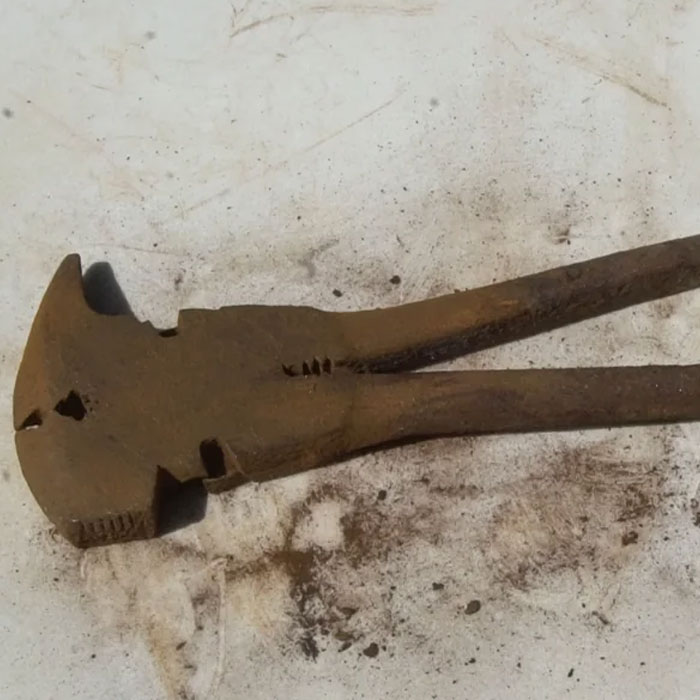
"First time taking on a pair of pliers that were this far gone and really happy with the final results. " - smokerjoker2020
The resurrection revolution marches on with makeovers that blur the line between restoration and rebirth. Whether saving family heirlooms or rescuing marketplace finds, these upcoming projects demonstrate how vision, skill, and stubborn determination can reverse decades of neglect.
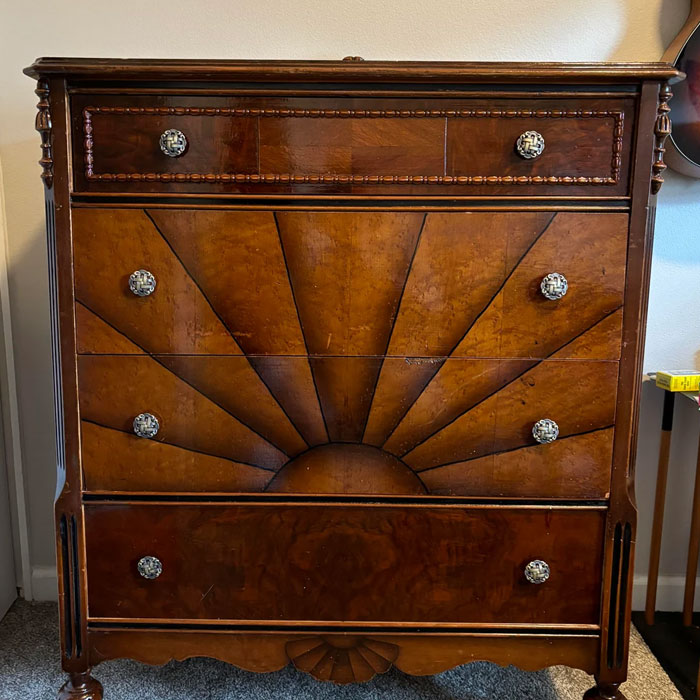
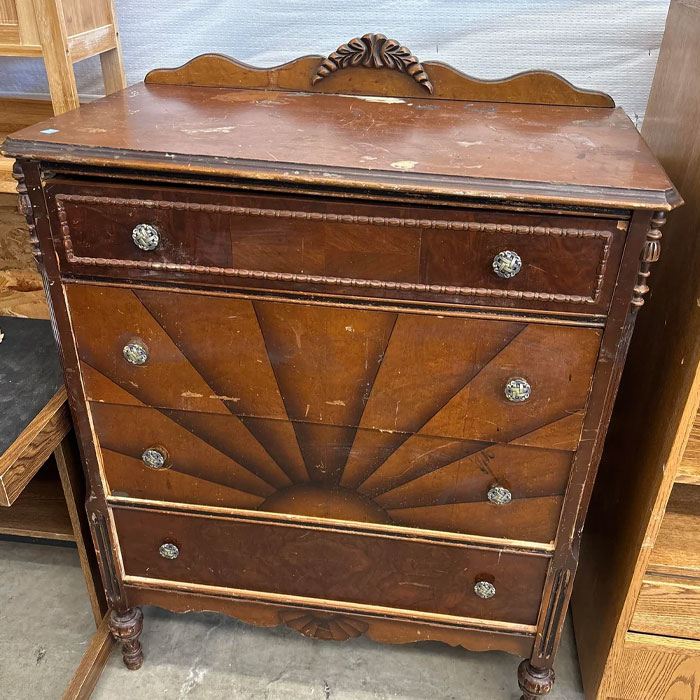
"1930s Dresser DIY Restoration! This is my first restoration project and I’m super proud of it!" - AlpacaAnarchy
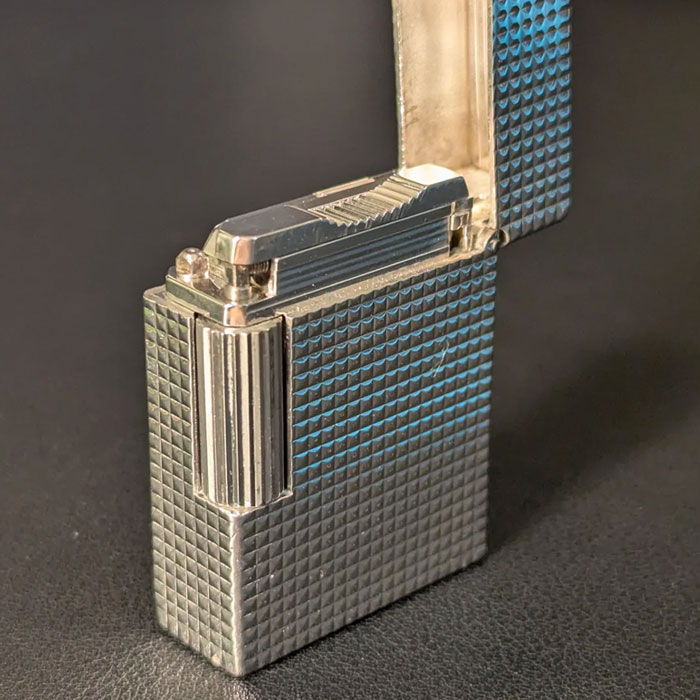
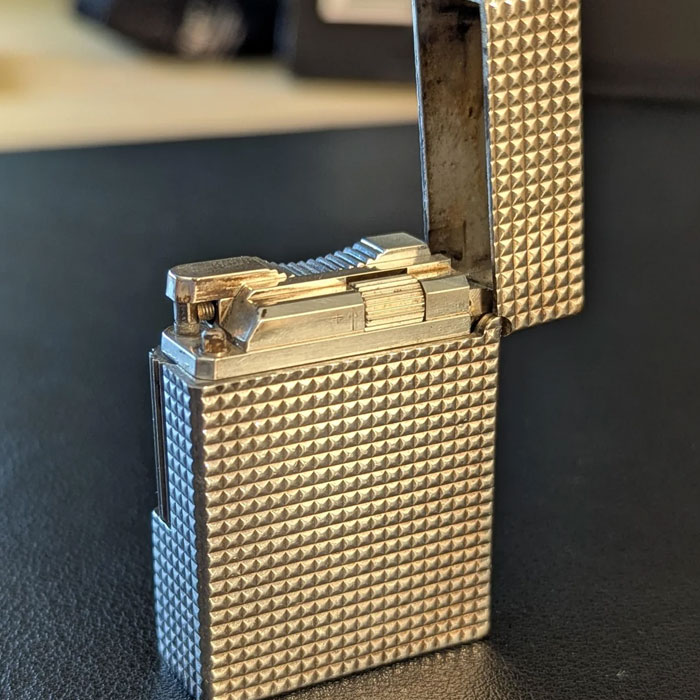
"Before and After Polishing - ST Dupont Ligne 1 BR." - Trunch_
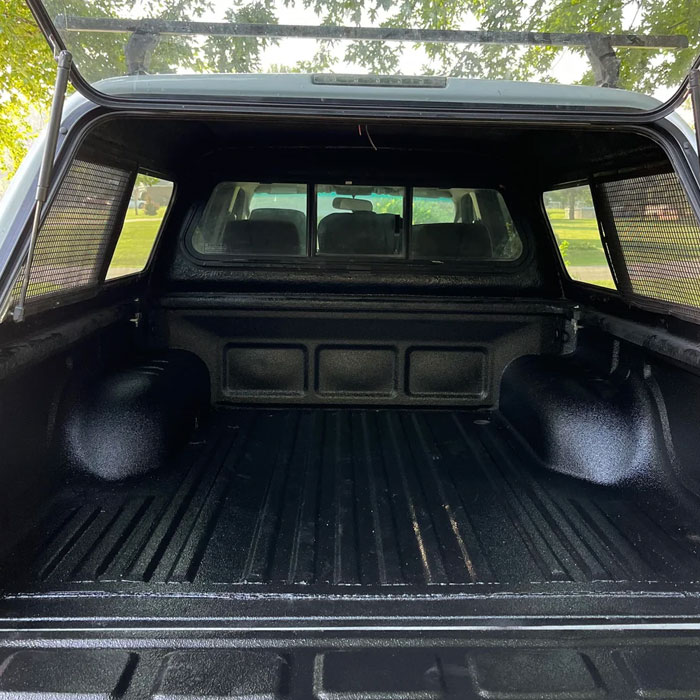
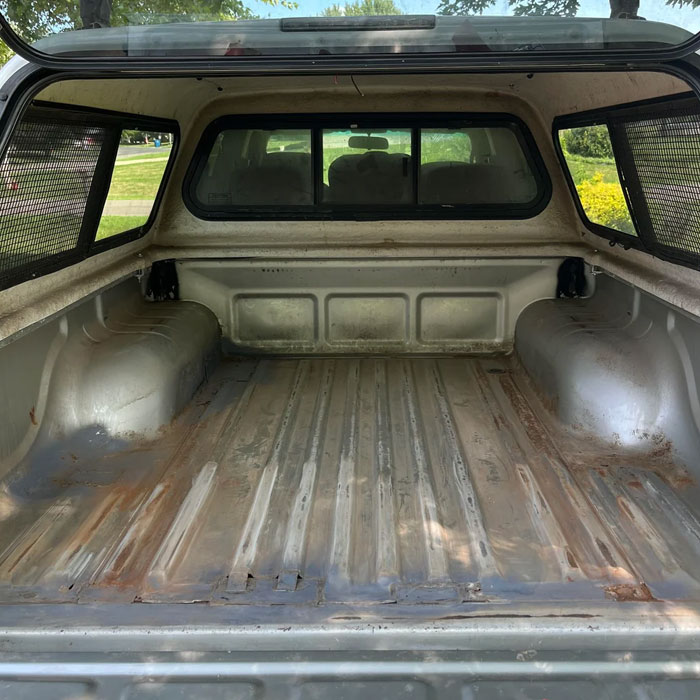
"Most of my 2002 Tacoma is pretty mint for it’s age, but the box itself was in rough shape. I spent several days sanding and wire wheeling the rust from the bed, repatched some areas that the previous owner tried fixing, and applied a spray in bed-liner. Touched up the inside of the camper shell to match as well!" - PrimalArmor
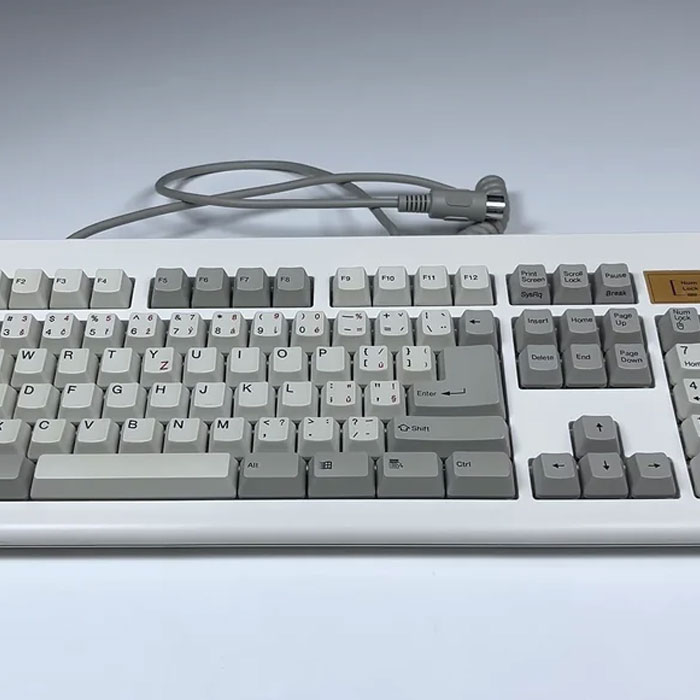
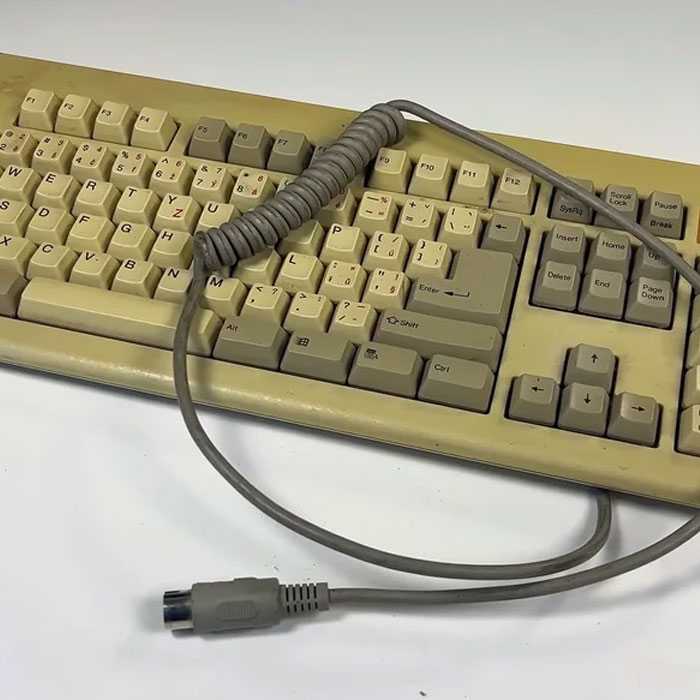
"Restored one of these beauties from the past Hey everyone! I recently took on the challenge of restoring this heavily yellowed vintage DIN PC keyboard. I wanted to share the transformation with you all. What started as a dusty, grimy, nearly-forgotten keyboard turned into a beautiful piece of retro tech again. 🧽 Deep clean 🌞 Retr0bright treatment 🎨 Custom paint job 🔧 Full teardown & reassembly 🎧 " - Wolfis-Den
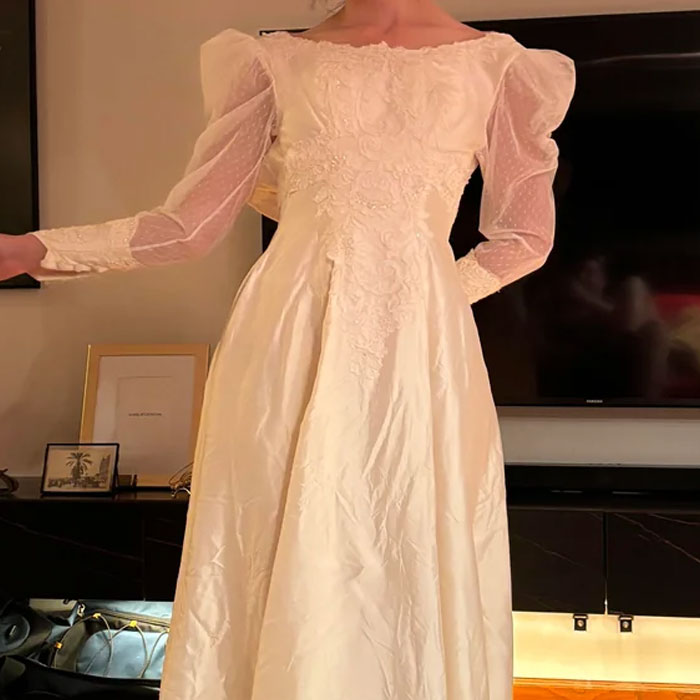
"Before and after soaking my mom’s wedding dress in oxyclean for six hours. Need to get it refitted and hemmed into a mini for my civil ceremony." - MillzOnWillz
I feel like I do Oxiclean wrong. I follow the instructions and have tried various soaking times (even over 24 hours!) and things that _should_ get clean with it are only marginally better
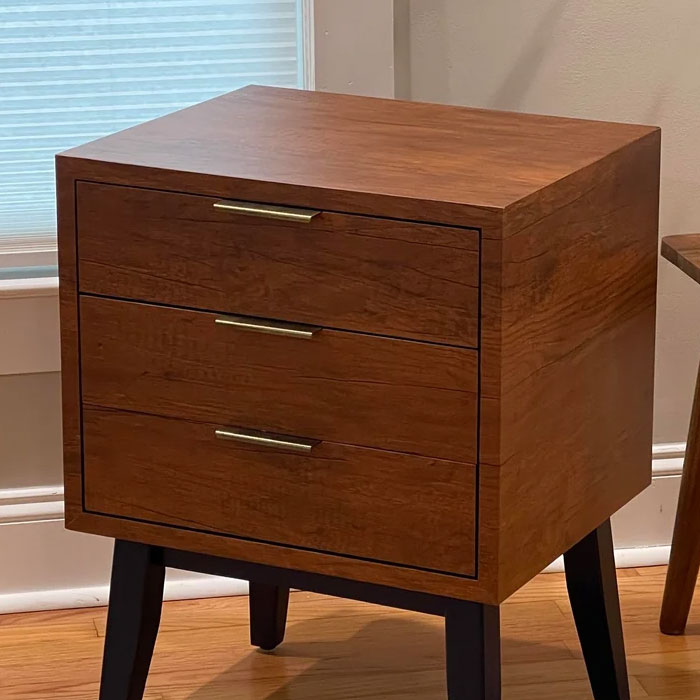
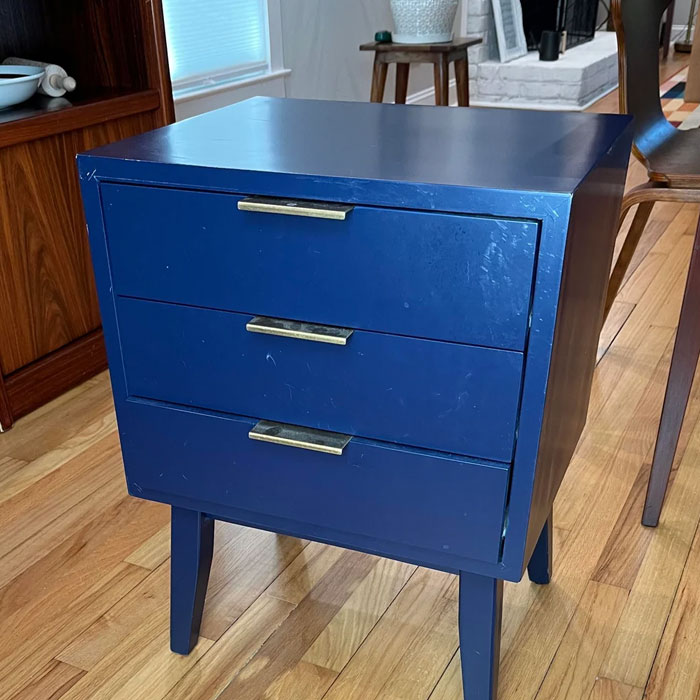
"Had these bedside tables sat in my office which weren’t suitable for our bedroom in their current colour/state. So rather than buy new ones, we thought we’d try some cheap “walnut” vinyl wrap.
Surprised with how easy it went on and the result looks pretty good (for now…we’ll see how well it holds up).
The legs in the after photo are still blue but appear almost black which I quite like the look of so the next step, when I have some time, will be to spray them." - dominicmannphoto
I did this on all the shelves in a rental where the wood was less than ideal. I also used some on a dvd cabinet so that it matched the others I had (it was the exact same style but I couldn't get the same colour). It's a good fix on a tight budget, but don't expect it to be luxurious :) I used silver holographic contact on my wardrobe doors when I was a teenager too, to cover up the pale pink laminate that had been there since it was my mum's room.
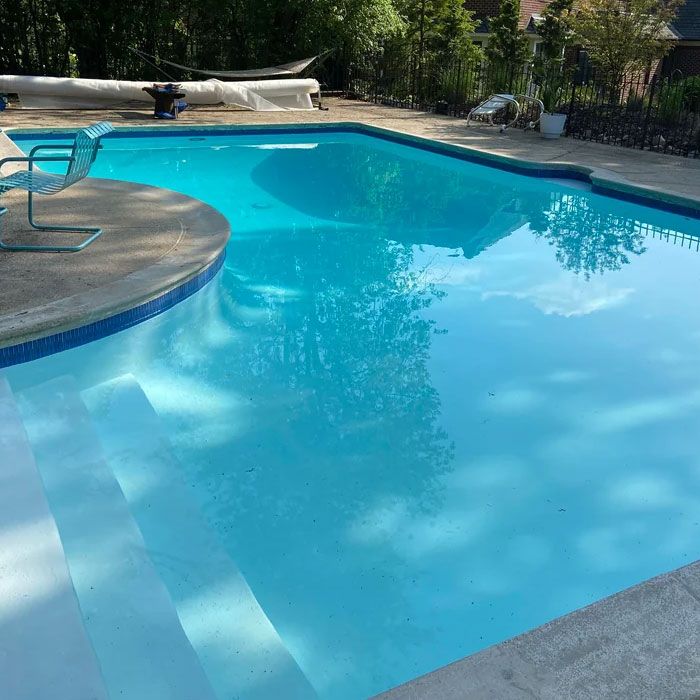
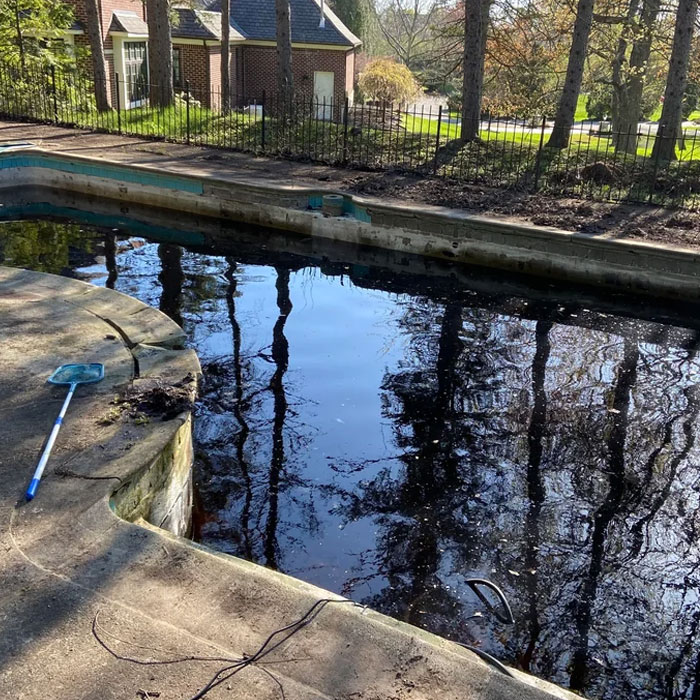
"Who doesn’t like a good before and after? DIY pool reno, from swamp to paradise over the course of two summers. This wintery weather in the Midwest has me dreaming about pool season and looking back at pictures. Here’s a slice of our DIY pool restoration on our 30k gallon 1970s gunite pool, done by two people who started out with zero knowledge about pools but a lot of construction skills.
Our plumbing setup is pretty simple, skimmer/main drain lines plus two inlets. Bought a Taylor test kit and learned about water chemistry. Bought a Dolphin robot, love that thing! Ended the summer with a work in progress but functioning pool." - captain_chickadee


 No fees, cancel anytime


")
")