ADVERTISEMENT

Spring is finally here! You can peel yourself out of the many layers of woolen sweaters and duck down jackets, take off your beanie and parade you luscious locks for the first time in the year. With spring also comes Easter and with it hundreds of cute bunny decorations, chocolate eggs, and happy thoughts. To make your springtime even better, we want to share with you a super easy carrot brownie recipe, that’ll not only look good but taste even better.

Prep time – 20 minutes

Cooking time – 25 minutes

Step 1


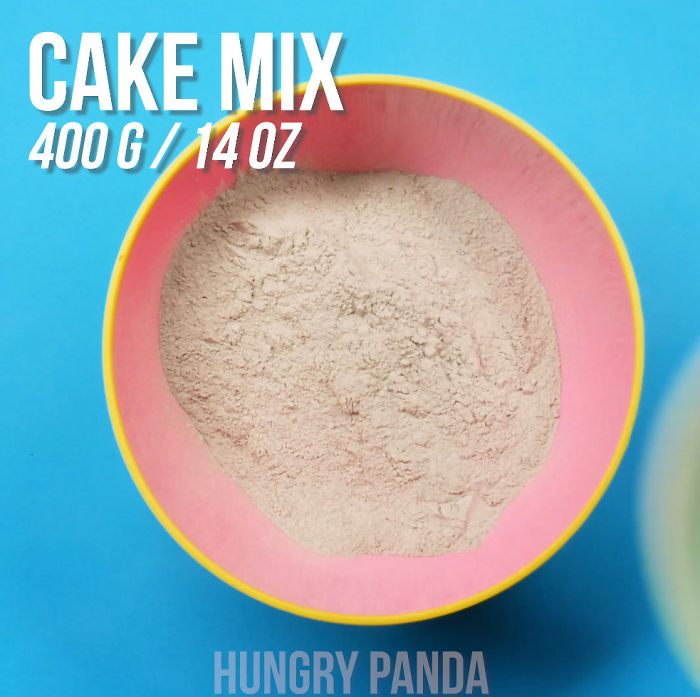
Brownie Mix

To make this deceitfully elaborate treat, you’ll have to start with a pre-made chocolate cake or brownie mix, which you can find in any grocery store.
Add some water to the mix, cover it all up a clear packing film so it won’t splatter your meticulously clean kitchen, make a hole in the middle, stick in the mixer and whirr away until it reaches a thorough consistency.

Step 2


Baking

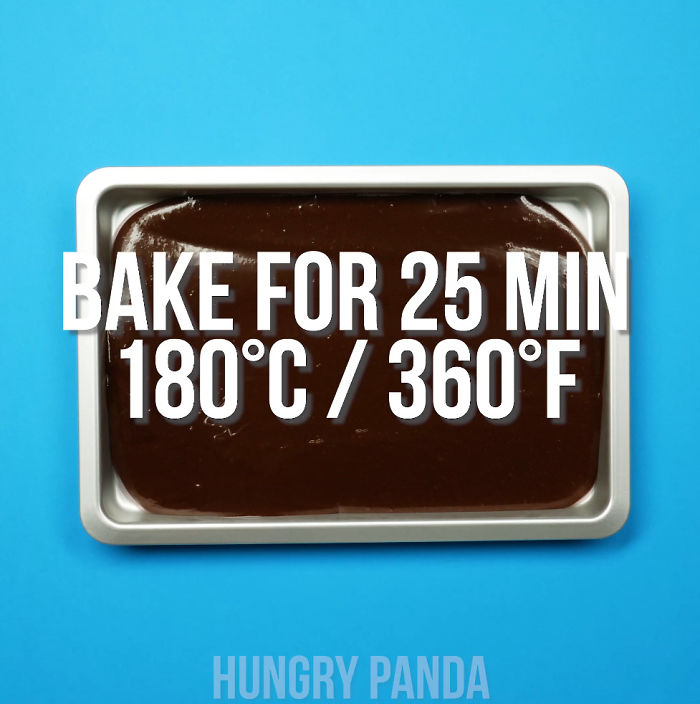
Pour your brownie mix into a tray – we’ve used a pretty standard baking sheet of 13″ by 9″ (or 33 cm by 23 cm), but you can use whatever size you have at home. Don’t forget to butter it up first, so your cake won’t stick to it! Otherwise, you’ll end up with crumbles and pieces of cake with the rest happily attached to the bottom. Now, when that’s all settled, put the tray into an oven and bake it for around 25 minutes at 360 degrees Fahrenheit or 180 degrees Celsius. Pro tip – to make sure your cake is thoroughly cooked, gently poke it with a wooden toothpick. If it comes out clean, your brownie is ready. If the toothpick comes out with some crumbles of dough on it, you’ll have to stick it back into the oven.
ADVERTISEMENT

Step 3


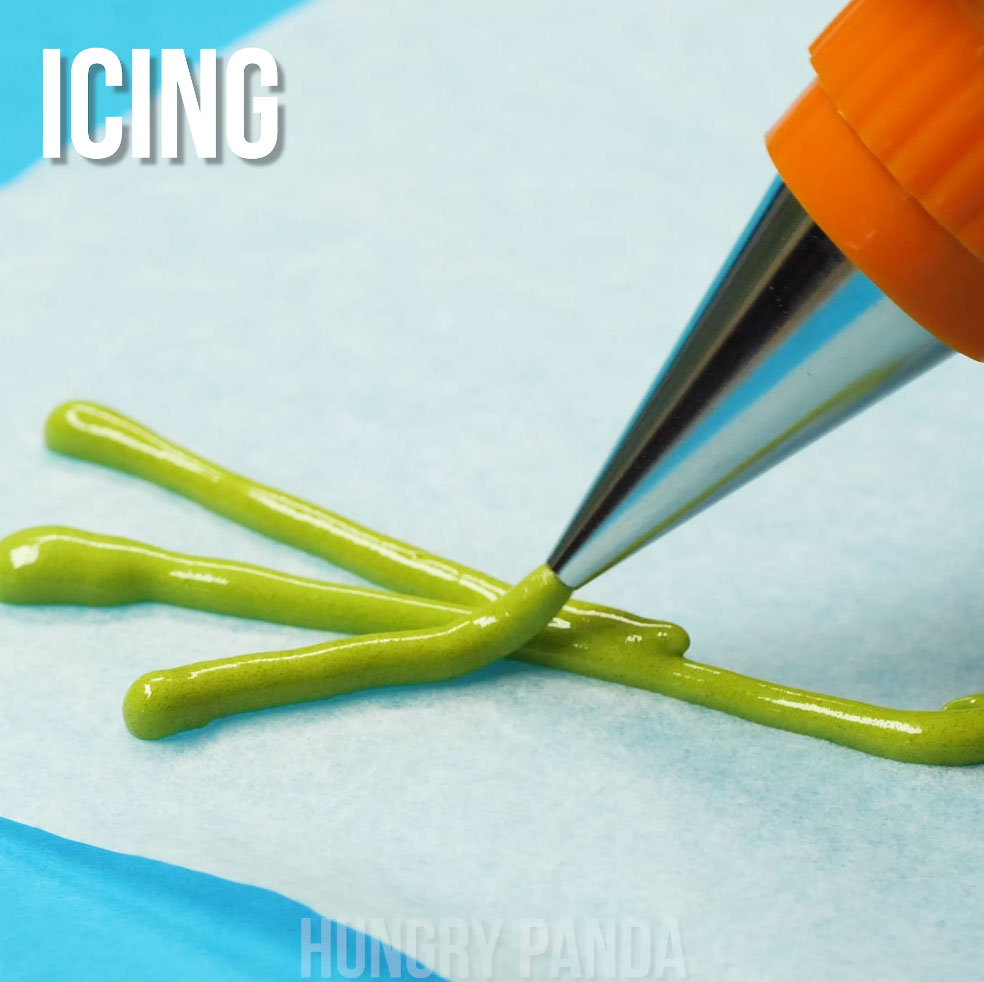
Icing Carrot Stems


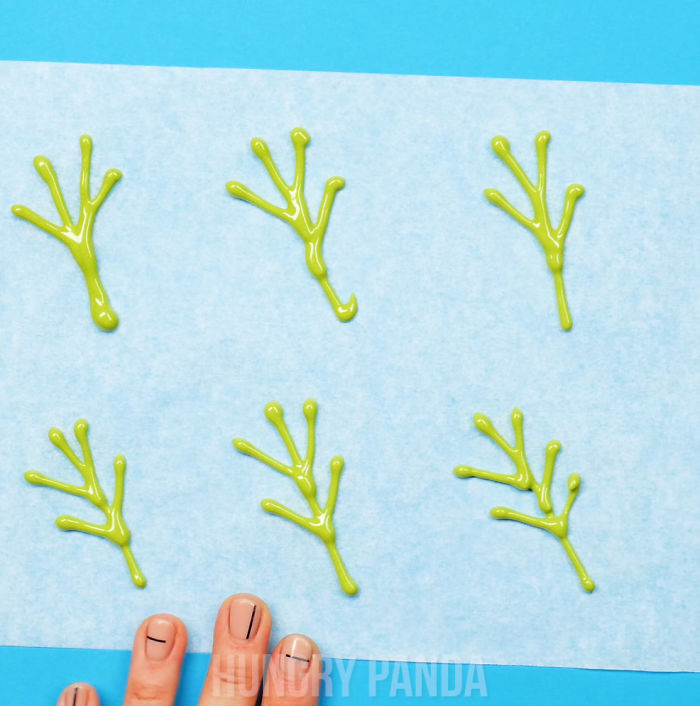
While your brownie is getting its tan in the oven, it is time to make those carrot tops! For them, you’ll need a sheet of baking paper and some icing, which is very easy to make if you don’t want to make a trip to a grocery store for it. All you have to do is whisk egg whites (we’ve used one) and then slowly add five spoons of powdered sugar until the texture is even and not shiny. Keep half of the icing white for later and add a dollop of green coloring to the other half for carrot stems. What you do next is draw your carrot tops using green icing on the paper and put them into a fridge to harden when finished. Easy peasy! Our recipe makes for ten full carrots, so you’ll need about 30 stems.

Step 4


Cutting

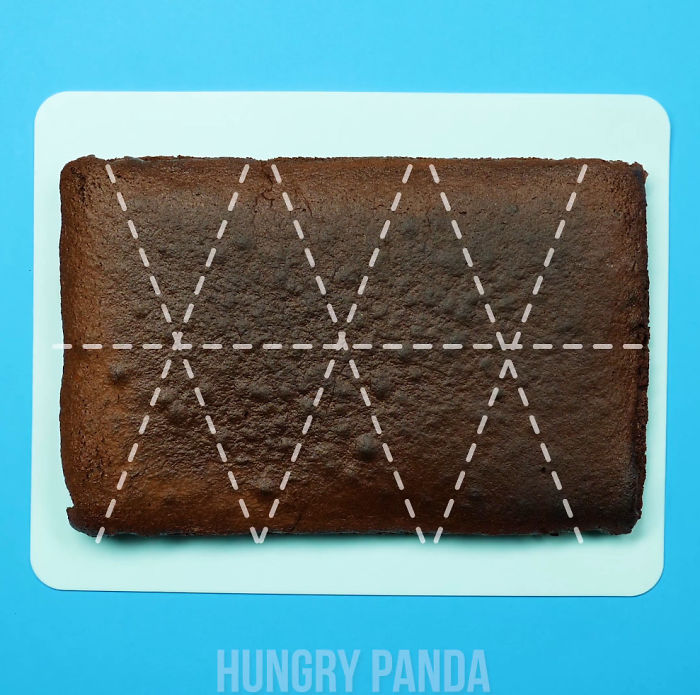
When your brownie is cooked through and chilled, it is time to cut it into carrot shapes, bearing in mind that carrots resemble triangles rather than rhombicosidodecahedrons. Fear not though, as we’ve drawn you a cutting pattern, which should leave you with ten full carrots and some spare pieces that you can eat right away.
ADVERTISEMENT

Step 5


Decorating

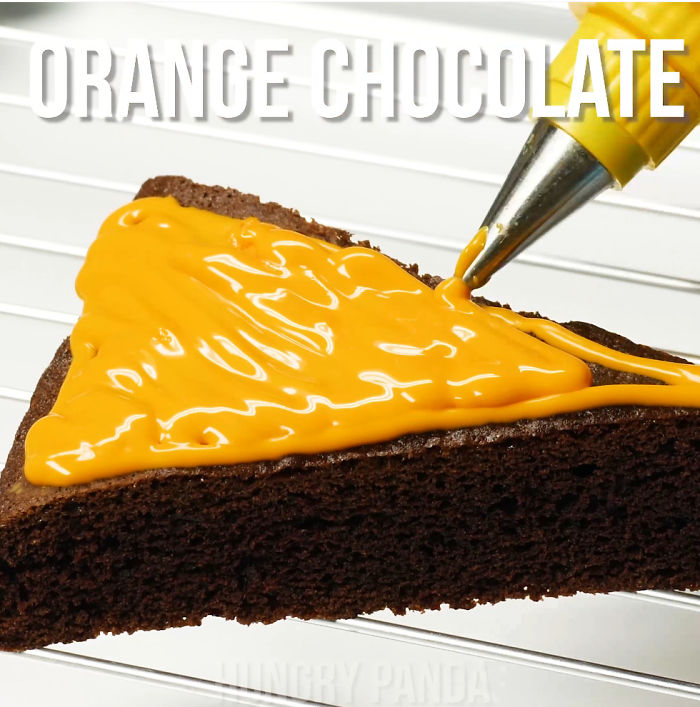
Decoration time! To create the orange coat, we’ve used chocolate melts. To make them liquid, you’ll have to put them in a microwave for about a minute at 40% power. Make sure to use a microwave-safe bowl! If you’ll leave them longer or set the power higher, it may boil over and thicken again. Do not use real chocolate as it doesn’t melt quite so good (and is not orange).
This is how the chocolate melts look before we’ve melted them. You can find them at any grocery store or even order them online. For this recipe, we’ve used a cup of orange ones.
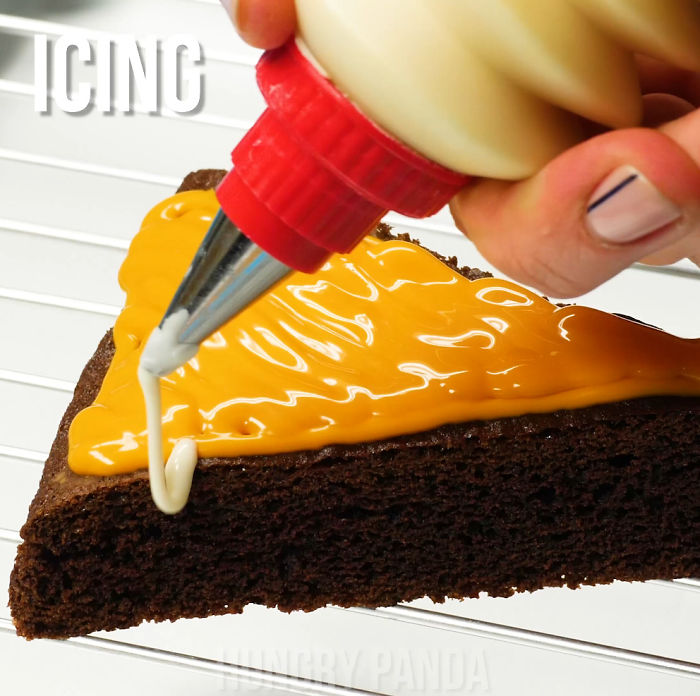
For the peel effect, we’ve used leftover royal icing without added green coloring (hopefully you didn’t eat it already).

Step 6


Decorating

Remember the carrot tops that you’ve made before? They should be chilled solid by now, so go get them and make this awesome arrangement on the thicker end of your carrot and voila! Your awesome treats are ready to be eaten!

Ingredients for 10 brownie carrots:

Ingredients for icing:

If you don’t want to make the icing yourself, you can buy an instant mix for it in white and green.

ADVERTISEMENT

Instructions for brownie:

Instructions for icing:

Video Tutorial For Brownie Carrots
ADVERTISEMENT