Get Premium
Dark mode theme is available exclusively for premium users. Learn more about the benefits of subscribing.
No fees, cancel anytime.

 Dark Mode Ad-Free Browsing Unlimited Content
 Ad-Free Browsing Unlimited Content Dark Mode
Join 1.2 million Panda readers who get the best art, memes, and fun stories every week!

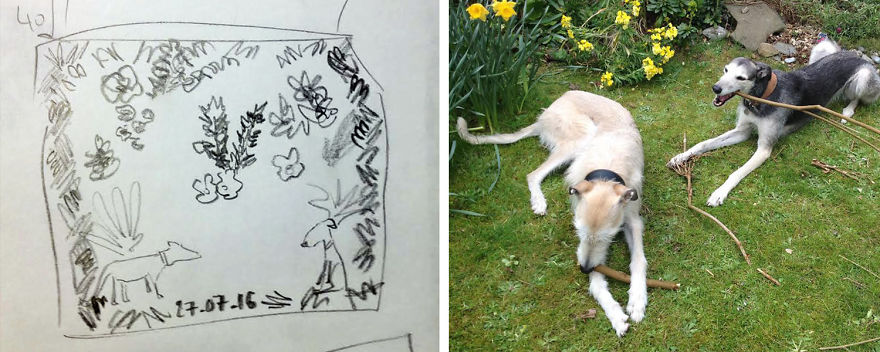
Hand painting a silk scarf is fun, but when there’s the chance to create a design from a customer’s vision, it’s the best thing ever. When I was asked to make a commemorative scarf for a lady’s 60th birthday by her son, he had a general idea of what he wanted in the design, and one very specific requirement – the scarf must feature the family’s dogs Iris and George – two beautiful lurchers. They sent me a rough sketch and a photograph of the dogs, so that I could get a feel of their vision. Here’s how I made the dream a reality.
More info: aratidevasher.co.uk
My client’s initial sketch and photo of the dogs
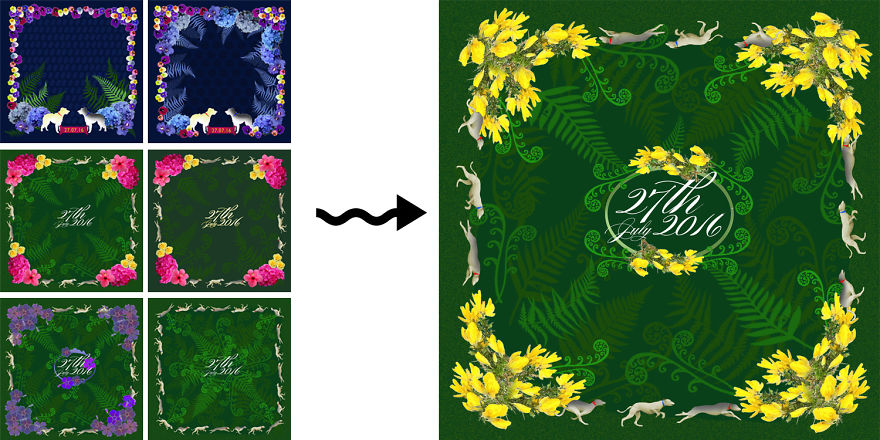
My sample designs and the final one ‘photoshopped’ so they could see what it might look like
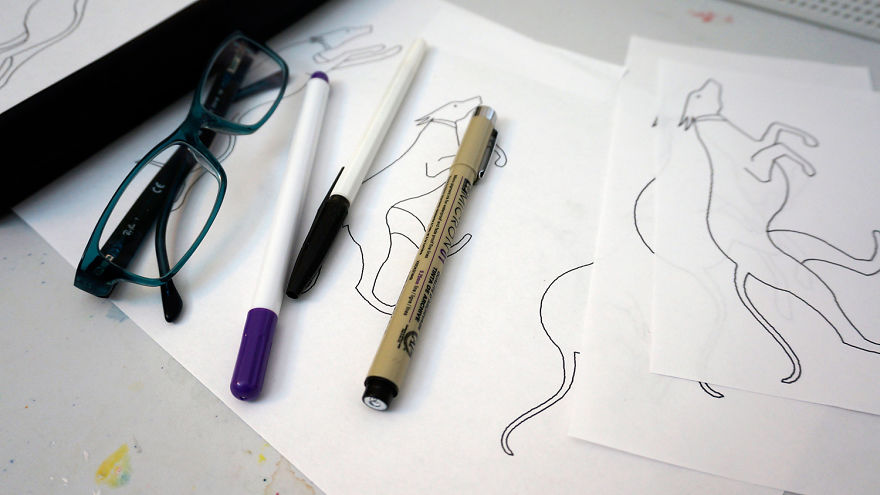
Starting out with the drawings of the dogs and the text
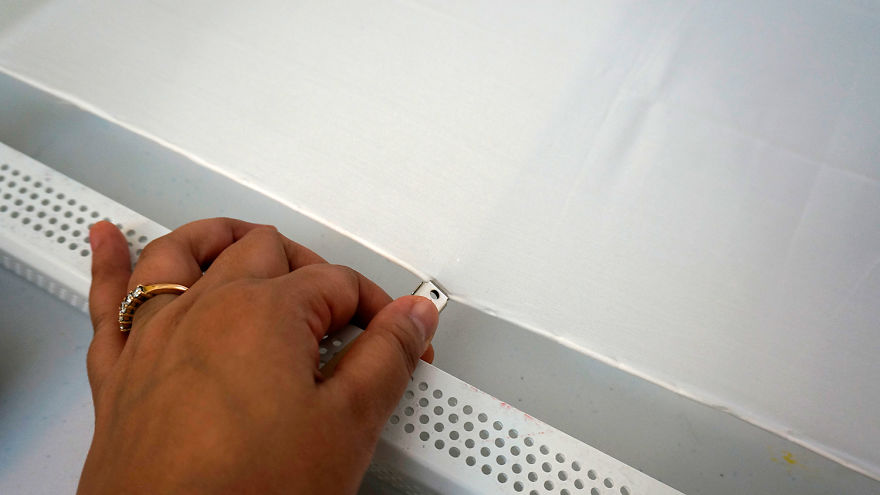
Stretching the plain white silk scarf to keep it taut
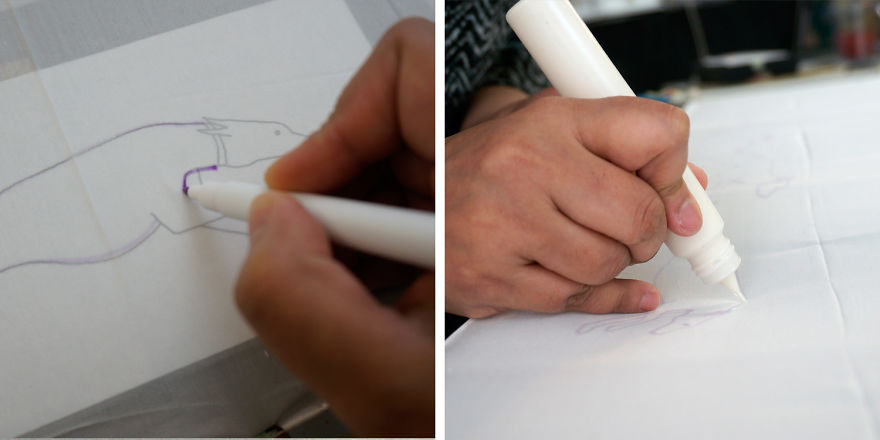
Tracing the dogs on to the silk with a temporary-ink pen and then adding gutta resist to contain the dye
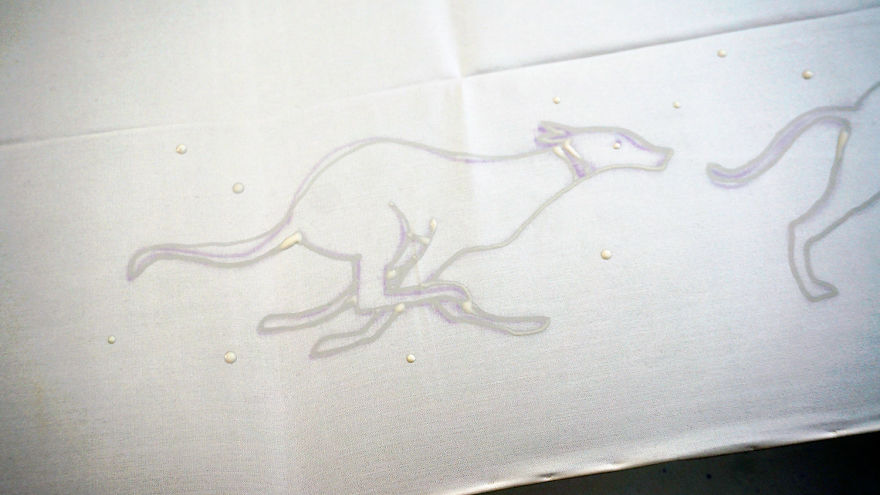
The first step complete – gutta outline on the dog border
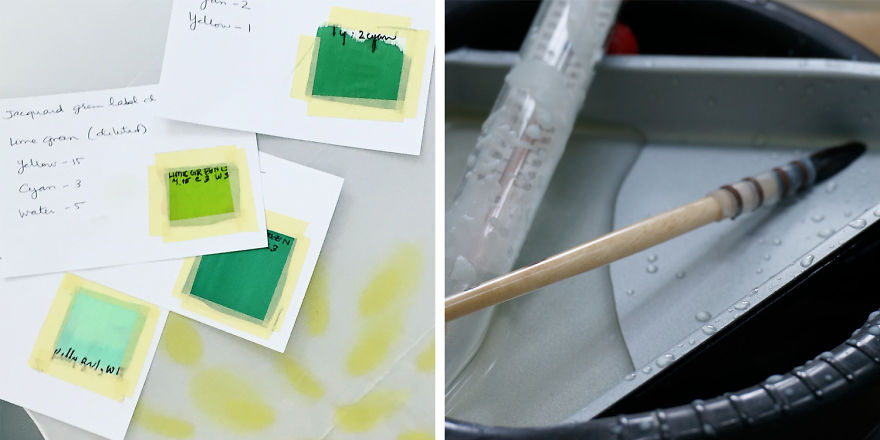
Choosing dye colours and heating up the soy wax to add colour and more designs
Once the dogs were painted in (sorry, I forgot to take pictures!), hot wax was brushed on to protect them from splashes of other colours
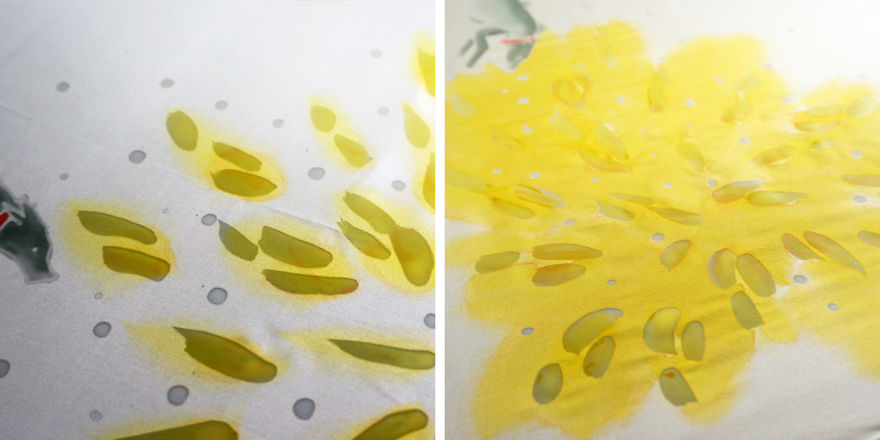
Adding dye and wax in layers to get the final effect (batik-ish technique)
In progress with the text also blocked out with gutta…
In progress… more layers of colour and dye
In progress… adding the ferns in with hot soy wax as resist to preserve areas of colour when I put the next layer of dye on
More stages of wax and dye application…
Almost done with the design… every single stroke is hand painted on
The border…
Final stages of wax and dye application…
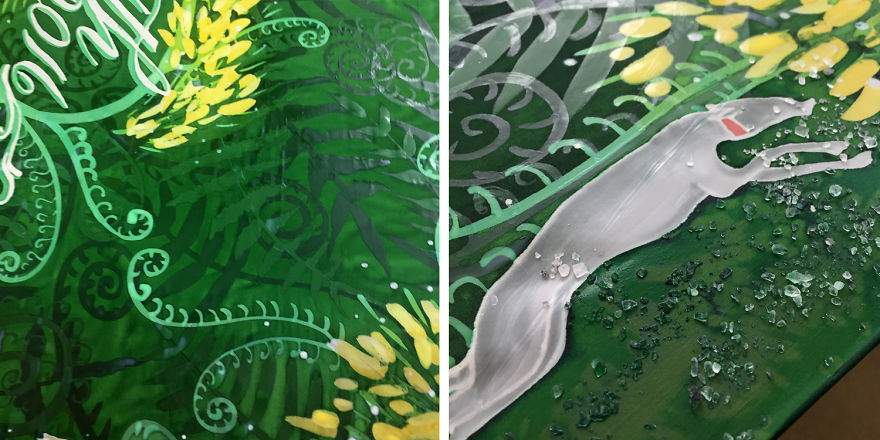
Detail shot of the wax layers; addition of salt to the wed dye on the border creates a nice texture
Brushing off the salt when the dye is completely dry reveals the amazing texture and patterns it creates
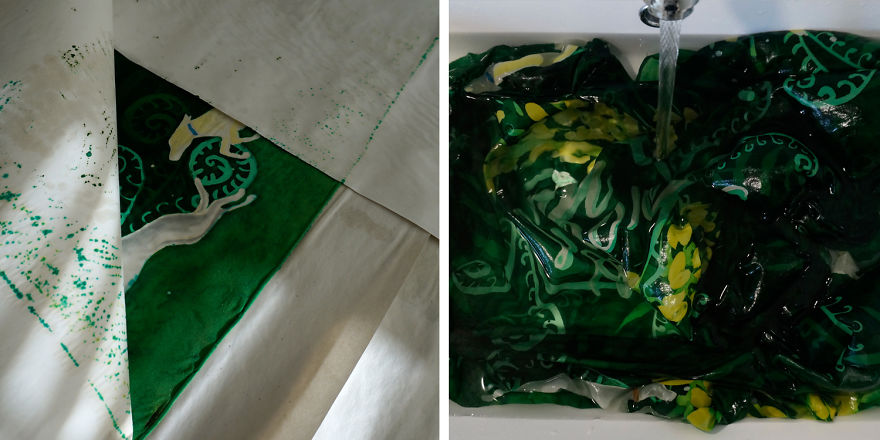
The wax is removed by ironing it off on to paper
After ‘resting’ overnight, the scarf is wrapped in layers of paper and steamed for 3-4 hours to set the dyes, and remove the remaining wax. It’s rested overnight again, and then washed in cool water to remove excess dye and any remaining (eco-friendly and water soluble) soy wax
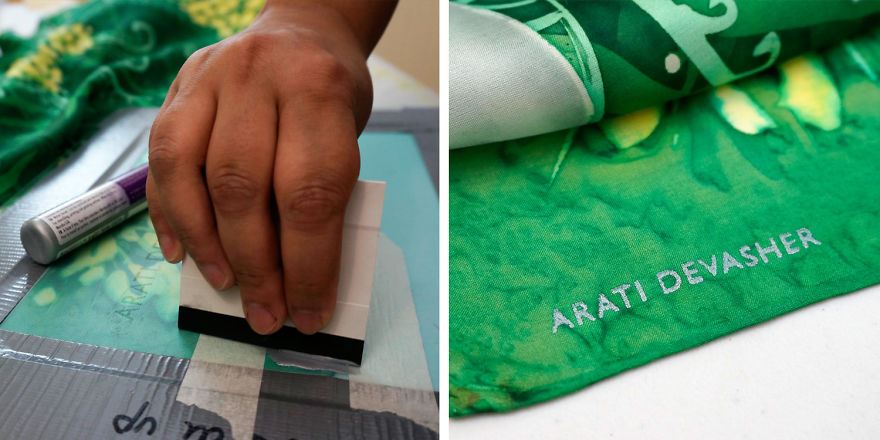
After ironing the scarf while still damp, I added my logo – this is the only printing technique used in the entire process of making the silk scarf
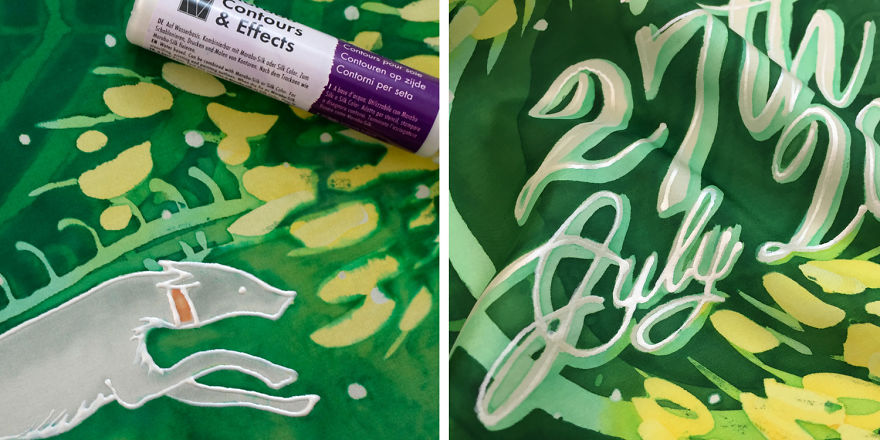
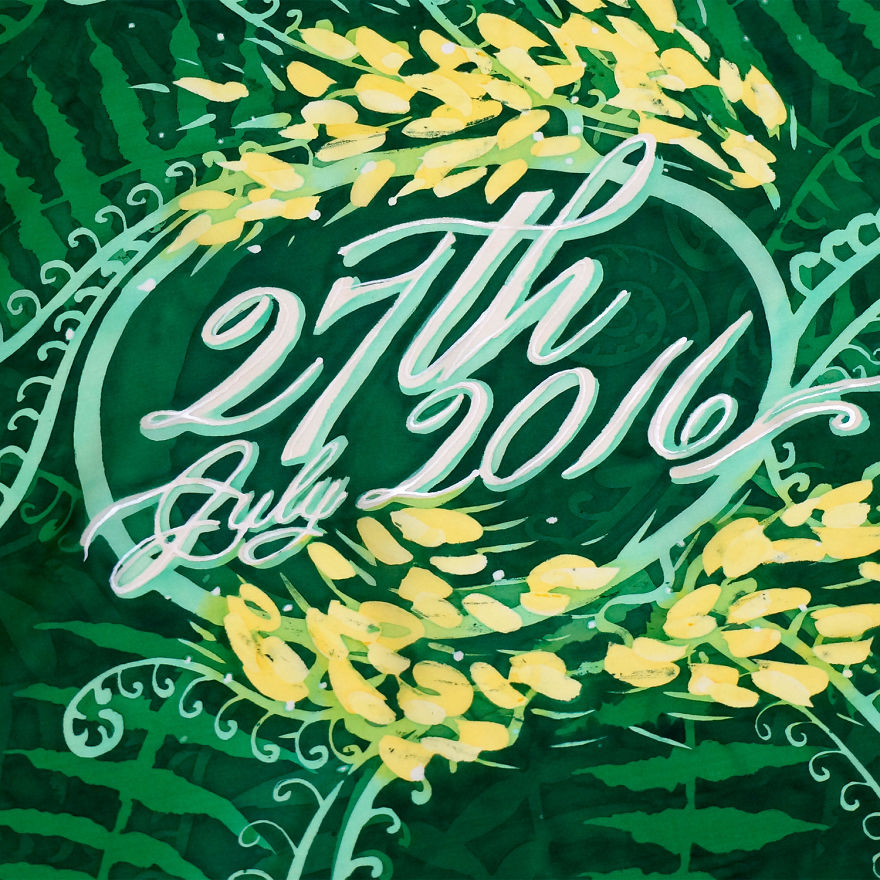
Here are some details of the text after I’ve re-stretched the silk on the frame to add some silver gutta outliner to create defined edges
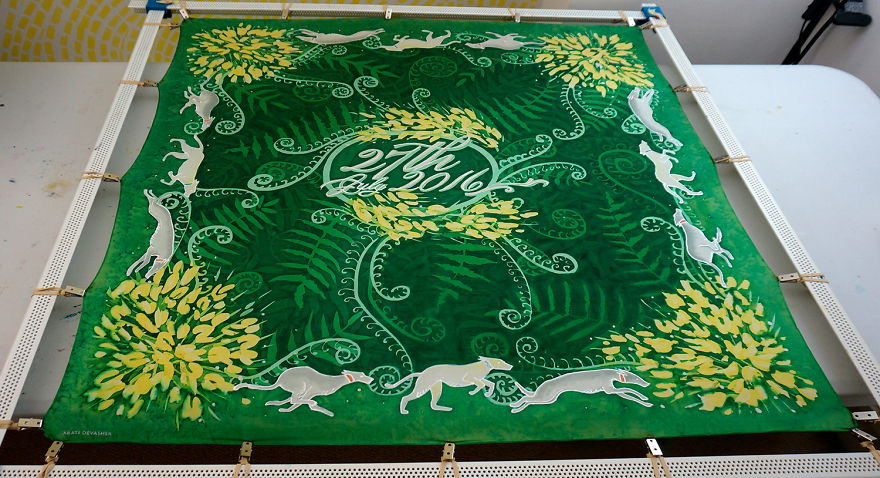
The finished scarf on the frame as the final silver gutta is drying
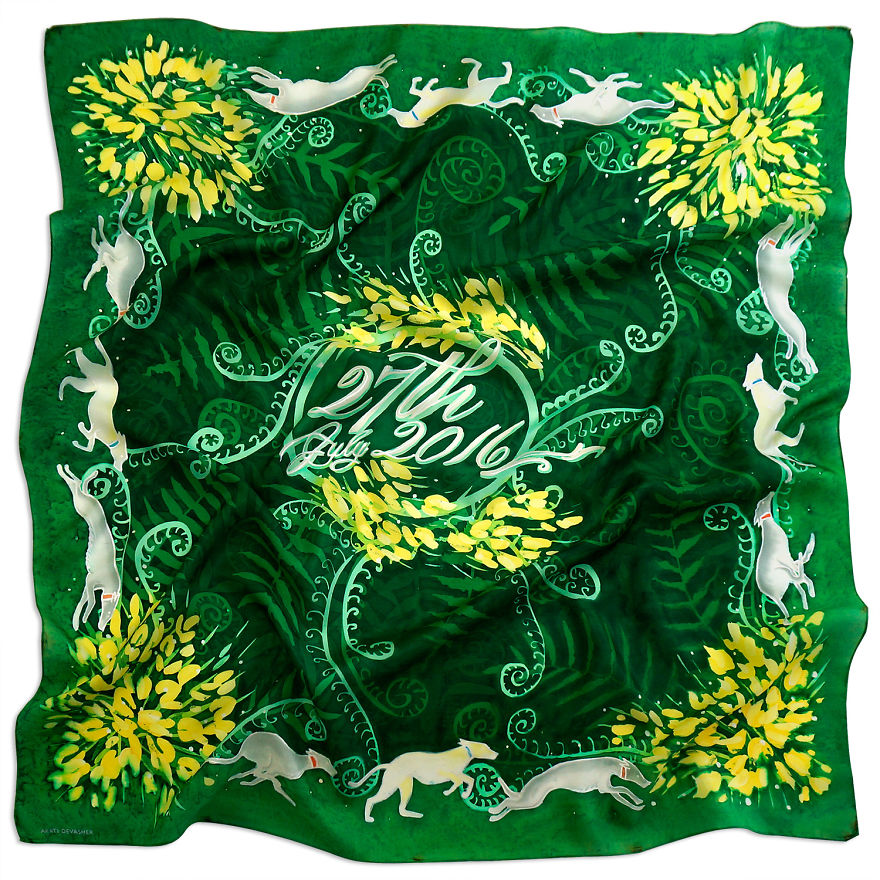
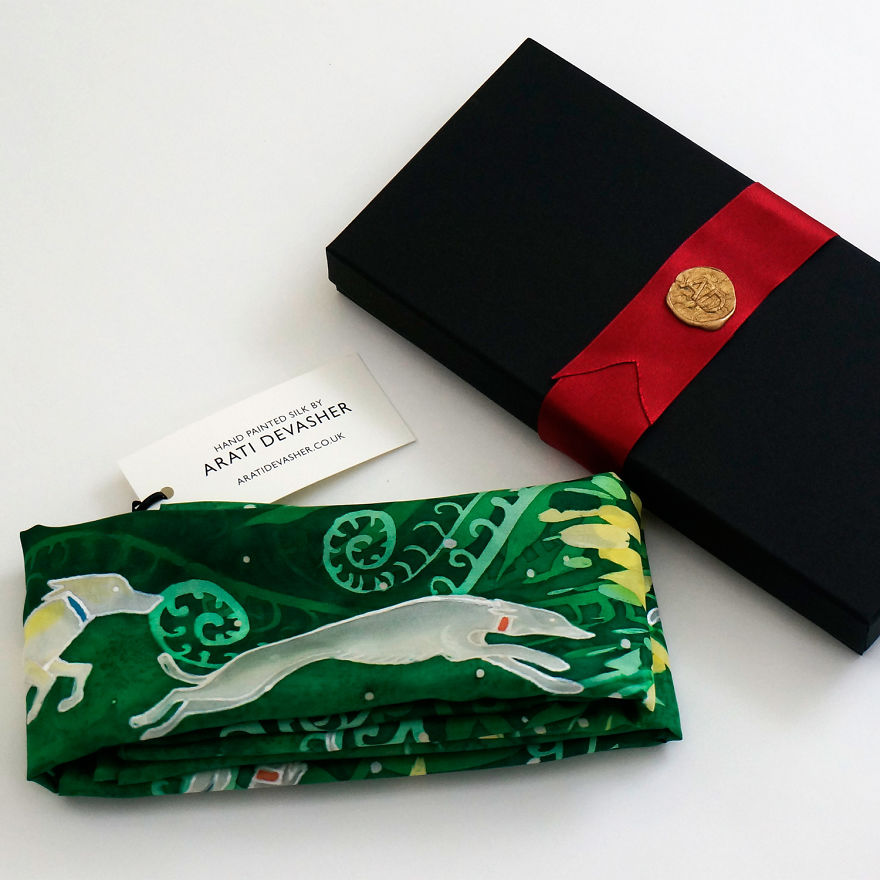
Here’s the final scarf!
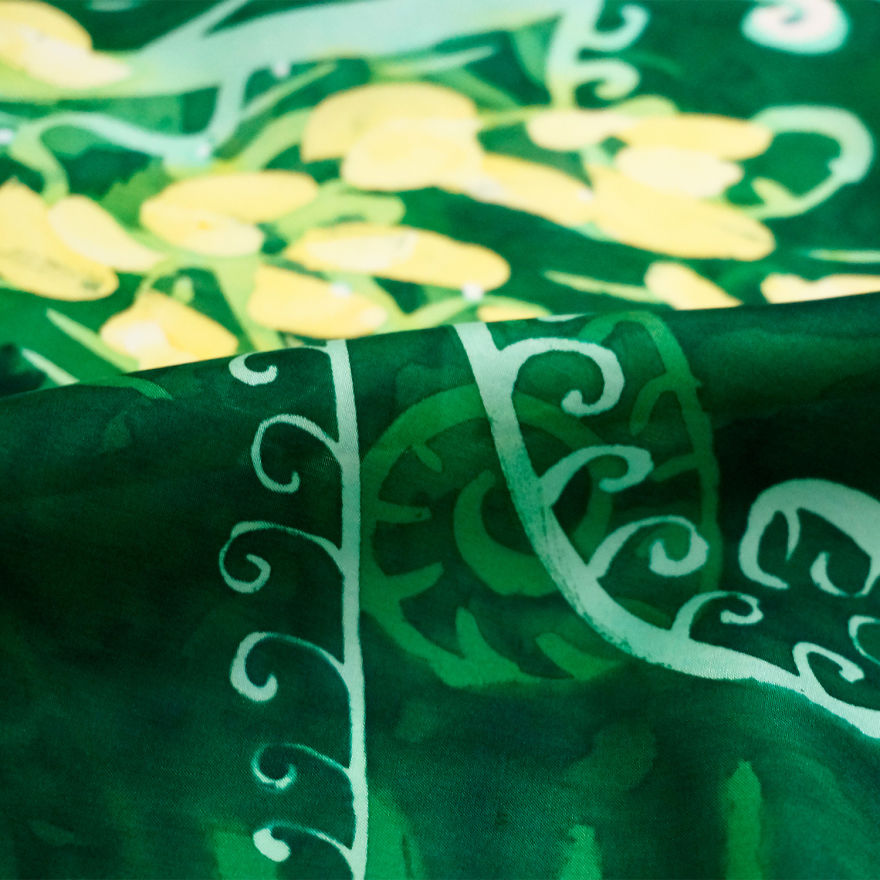
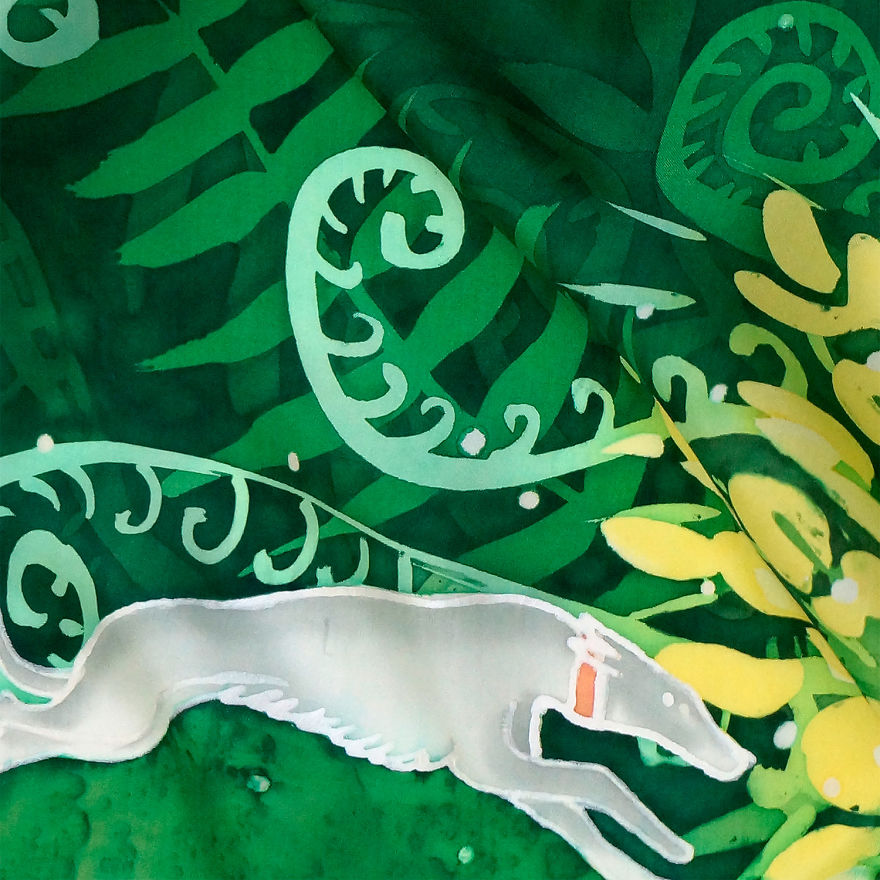
Details of the design…
Details of the design…
Details of the design…
Ready for my client to gift to his Mum on her 60th birthday…
P.S. I heard she loved it, so – YAY!



















 No fees, cancel anytime





5
0