If you are interested in craft, this post will inspire you!
I’m guessing that you have an empty wall in your living room, plus a lot of printed family memories. Also, I’m guessing you want to display those cherished memories to beautify that wall.
Yes? I am telling you how I created the DIY memory wall that always makes me feel blessed.
My New Year goal was to get organized with my family photographs. I and my husband have been married for ten years now. Fortunately, both of us love traveling and have a special love for printed photos that we can see and hold.
Combining both of these things, we have collected a lot of photographs of us traveling. Last Christmas, I decided to create a DIY memory wall of our favorite memories over the last five years. And the blank wall just behind the sofa in our living room was the perfect spot.
This is how it turned out to be –
So simple and magnificent, no? I only needed patience, photographers, and attention to detail.
GOOD NEWS! Inspired by my craftwork and this memory wall, many people in my circle wanted to create that kind of wall in their homes, and they asked me how I did it. So, for inspiration, I would like to share with you the easy steps of creating this beautiful and personal wall with your own memories.
Step 1: Selecting the Best Pictures
First I decided to spend a day selecting the best images that I would like to show off on the wall. It is the most important step and I had to be very careful in my selection.
I went over all our travel folders and started finding out the best pictures. I decided to arrange the images on the wall in chronological order to give the wall as well as onlookers a flow.
Then, I chose two pictures for every trip by the best locations I explored there. I mentioned the specific date to the photos to show my life’s pleasant moments over the years.
Step 2: Choose the print size
I decided to go asymmetrically. I got photo prints in different sizes to create a focal point on the wall. Some images were small, a few were medium-sized while some were portrait large.
Actually, for this I already got the idea of wall size and the area to cover on the wall.
Step 3: Choosing the Right Type of Frame
The next step for me was to choose the right type of frame. Well, since I decided to go asymmetrically, I chose different types and sizes of frames.
You can also choose frames of one or two types to be easy on the eyes of the onlookers. But I chose three – a large one at the center while others surrounding it asymmetrically.
I really like this style of black frames, because it gives a cohesive look to your photo display, no matter how colorful and diverse they are.
Step 4: Hanging in a messy layout
I chose a messy layout to add interest to my memory wall. There was no fixed position for every frame. I just hanged it anywhere I liked but still with some thoughts to make it look great.
Hope you liked it! Let me know in the comment section below.
Inspired? Well, all these DIY memory wall ideas are easy to implement. So get started now, and don’t forget to share the pictures with us.
Happy DIY memory wall!
More info: elephantstock.com
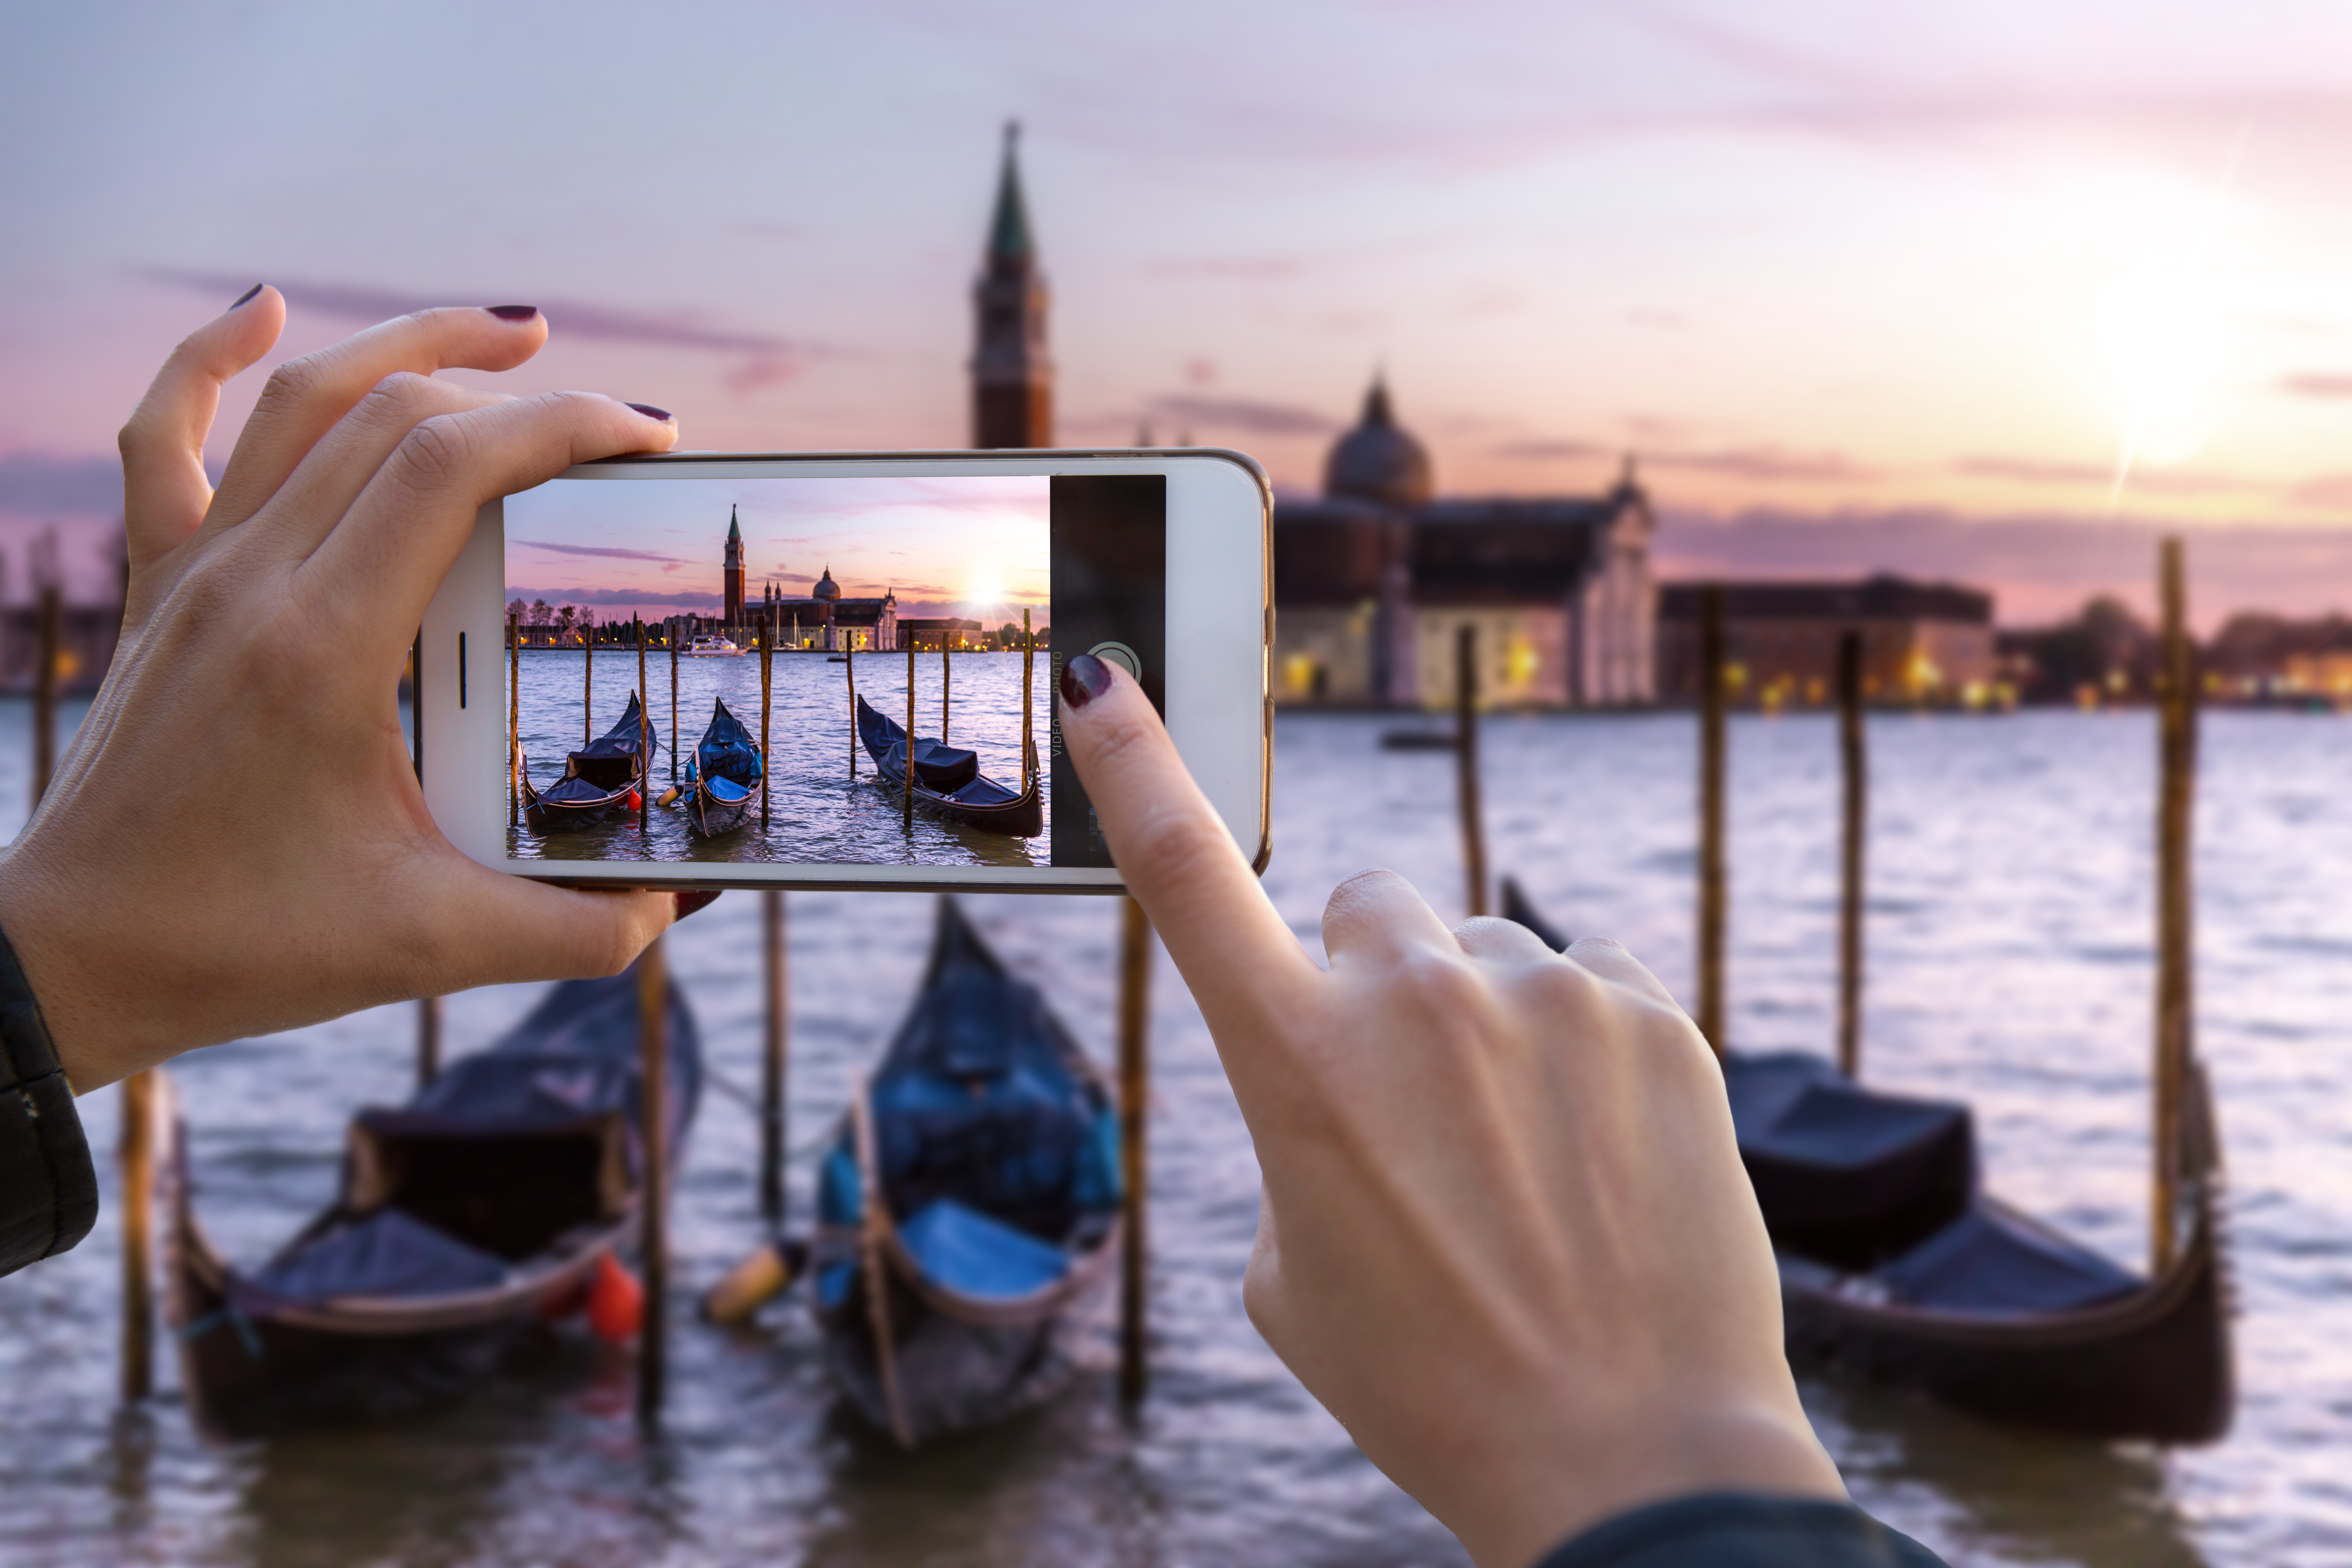
Traveler taking a photo of a beautiful landscape at sunset

Framed prints of a couple in love on a room’s wall

126views
Share on Facebook


3
0