Get Premium
Dark mode theme is available exclusively for premium users. Learn more about the benefits of subscribing.
No fees, cancel anytime.

 Dark Mode Ad-Free Browsing Unlimited Content
 Ad-Free Browsing Unlimited Content Dark Mode
Join 1.2 million Panda readers who get the best art, memes, and fun stories every week!
My cousin asked for a knitted moose head for her wedding present. I’m not sure how serious she was but I thought I would take her up on the challenge…
I found a basic shell made of cardboard slats on eBay (they really do sell everything!). I needed a solid base so it would hang on the wall and have the antlers stay up.
I created the entire piece by knitting directly over the shapes with multiple needles. I used methods of increasing and decreasing stitches as I go to create the right shape.
I created large, reverse bauble stitches carried over multiple rows to shape the moose’s signature nostrils and increased and decreased stitches to shape the chin piece (which is technically called a bell or dewlap).
I have to bring this in luggage from the UK to Newfoundland and I imagine my cousin will need to transport it more easily herself so I have left it with the antlers and ears as removable pieces. I made two slots to fit the antlers and ears on the top. I did this by casting off and then re-casting on stitches to create an opening.
Finally, I stitched the eyes on. I used thick wool and layered it to give them a three-dimensional feel. I also added a white fleck to bring them to life.
I am very pleased with the overall result and now I am making one for myself! Hope you enjoy!
More info: Instagram
Creating larger-than-life art pieces doesn’t just belong to pencil masters. Knitting enthusiasts can also contribute to the world of three-dimensional art through their unique craft. Just like pencil sketches can seem to leap off the page, knitting projects can equally embody the spirit of realism through structural techniques.
If you’re intrigued by the art of achieving depth and realism in knitting, take a look at how certain artistic forms break boundaries to create astonishing illusions.
1Kviews
Share on Facebook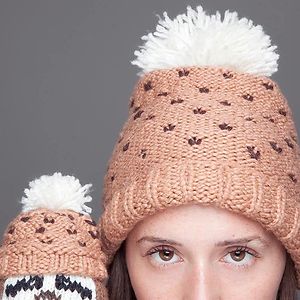
Aww thank you! Not yet but I have a website where I do sell things time to time :) karlacourtney.com <3
Load More Replies...I’m not taking orders (yet) but I’ll share the pattern when I’ve perfected it! I’m on Instagram @karlacourtney xo :)
Load More Replies...Hello! Thank you 🥰 it took a few weeks of regular knitting all night after work! The antlers took longer than the head as I used finer wool and it was fiddly shaping them!
Load More Replies...Aww thank you! Not yet but I have a website where I do sell things time to time :) karlacourtney.com <3
Load More Replies...I’m not taking orders (yet) but I’ll share the pattern when I’ve perfected it! I’m on Instagram @karlacourtney xo :)
Load More Replies...Hello! Thank you 🥰 it took a few weeks of regular knitting all night after work! The antlers took longer than the head as I used finer wool and it was fiddly shaping them!
Load More Replies...


 No fees, cancel anytime


49
8