ADVERTISEMENT

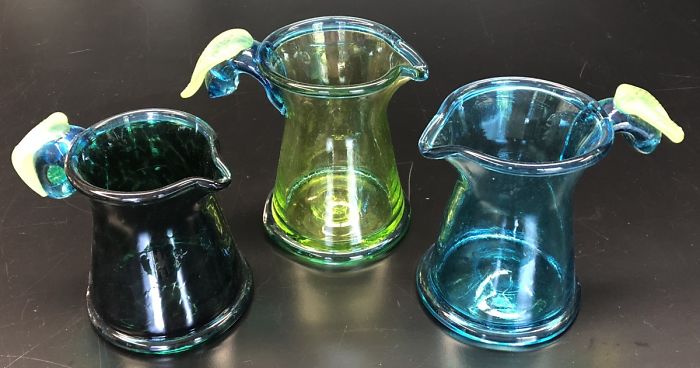
A few months ago, we were commissioned to make a group of whiskey pitchers for a private event.

This was a new item we had not produced before, but through some trial and error, we figured out a successful process and design. Here is a step by step video montage of how it was done!

More info: epiphanyglass.com

We made whiskey pitchers in different shades of blue and green. Aren’t they adorable?!

An initial gather of clear glass has been taken and frit has been added to give the glass color. Here the glass is taken to the bench and shaped in a block. A bubble is blown into the glass and it is taken to the marver to be smoothed. The marver also cools the glass and helps direct the air bubble

The glass was taken to the reheating chamber to be heated up. Back at the bench, jacks are used to create a constriction. They are also used to shape and cool the glass. More air is blown into the glass to expand it

The bottom of the pitcher has been formed and more work is done to shape the piece. An additional bit of glass is added to the bottom for the punty to stick to. As the glass cools down, the pretty green color becomes more apparent

ADVERTISEMENT
ADVERTISEMENT

Next a decorative bit of glass is added to the bottom of the pitcher- so satisfying!

The piece was attached to a punty and flipped around. The top is opened using jacks

A bit of decorative glass is added to the rim

Next, jacks are used to expand the opening of the pitcher

ADVERTISEMENT

A spout is formed using the jacks

A handle is added to the pitcher with a bit of colored glass. The extra glass is trimmed using diamond shears and a tagliola is used to shape it

ADVERTISEMENT

Another bit of glass is added to create a leaf. Crimps are used to create texture. Some more shaping and reheating is done and the pitcher is ready to be knocked off and cooled down in the annealer!

Here’s a look at how the whiskey pitchers were displayed at the event. They look great as vases as well!