Get Premium
Dark mode theme is available exclusively for premium users. Learn more about the benefits of subscribing.
No fees, cancel anytime.

 Dark Mode Ad-Free Browsing Unlimited Content
 Ad-Free Browsing Unlimited Content Dark Mode
Join 1.2 million Panda readers who get the best art, memes, and fun stories every week!
Hello Pandas!
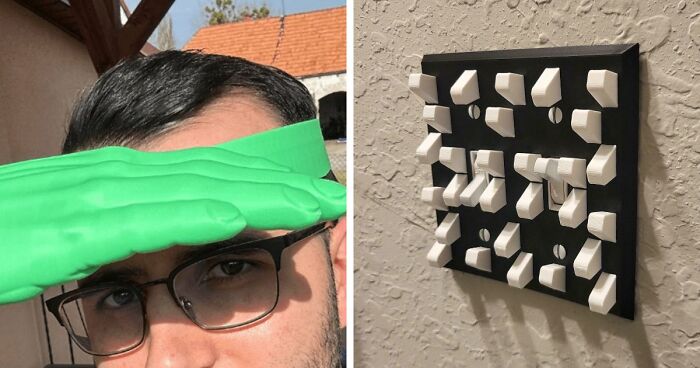
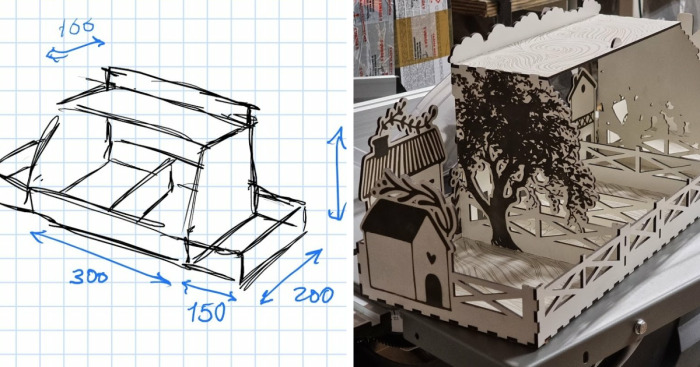
Here’s the story of my DIY project. I believe it may be helpful and inspire people to create designs for home with the soul.
Please enjoy and find me on Twitter!
Made with @LightBurnLaser & #endurancelasers (10W module with G7 lenses and v2 air assist nozzle), plus some cheap Chinese laser engraver with DIY air assist system.
I never created models for laser cutting (and never learned how to build), so I tried to develop my own approach as this is the first but not the last model I will make.
I’ve been thinking a lot about making the groove cuts and making them parametric, so you can edit all at once and make the process repeatable in the future. I think I found a way.
All the cuts are in place, the has-been model assembled. I had to change the design and dimensions a bit, but this was to be expected. And although the model uses expressions it was not so difficult to adjust it.
I used Shaper Utilities to export 3d models layout as a 2d vector sketch. Now it is ready for some magic.
I googled for some images to make the box more attractive. I used low-quality raster images, so I scaled them up and vectorized them. And after a few hours, I prepared a nice themed scheme for cutting and engraving.
I set the engraving and cutting parameters and did a test run. And almost immediately discovered that the MDF is quite fragile, and I need to be careful when assembling it.
I chose a double-sided white laminated MDF with a thickness of 3mm and a size of 600x400mm per sheet. So I had to split the model into two parts. And here’s the first part.
On the second sheet, I make some minor changes to the final design.
A couple of drops of white glue and simple parts attaching one by one. The easiest and the most enjoyable part of the job.
1Kviews
Share on Facebook


 No fees, cancel anytime

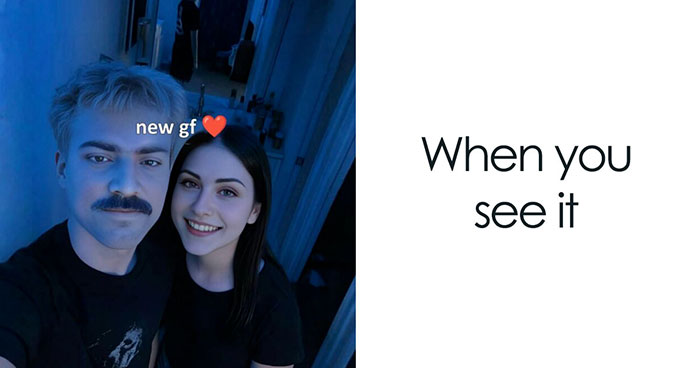
 To It")
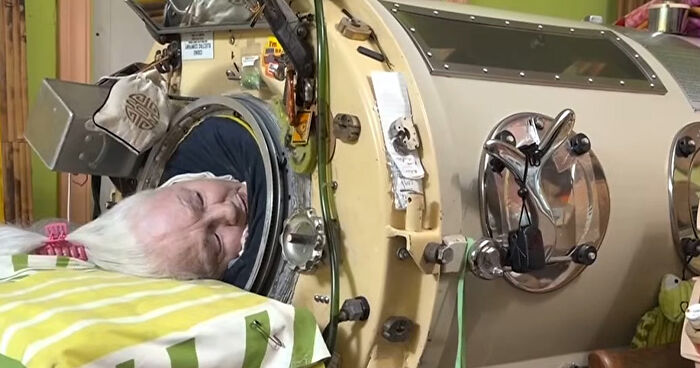
 To It")
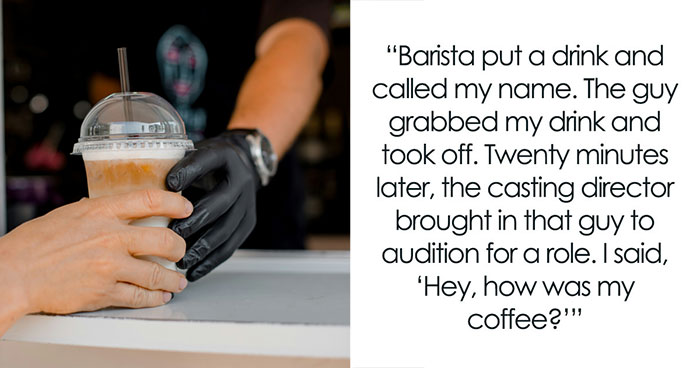
 To It")
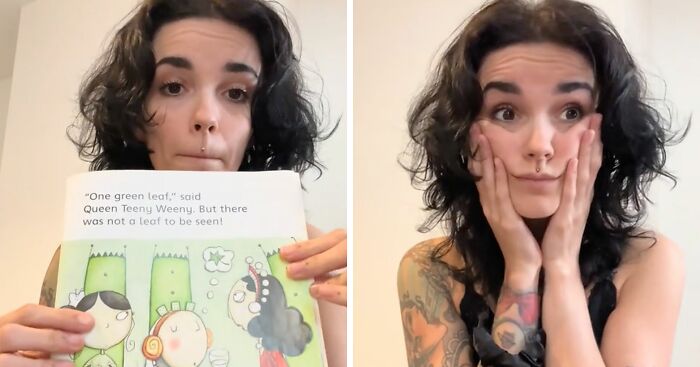
 To It")
 To It")
 To It")
 To It")
 To It")
 To It")
 To It")
 To It")
 To It")
 To It")
 To It")
 To It")
 To It")
 To It")
 To It")
 To It")
 To It")
 To It")
 To It")


19
0