ADVERTISEMENT

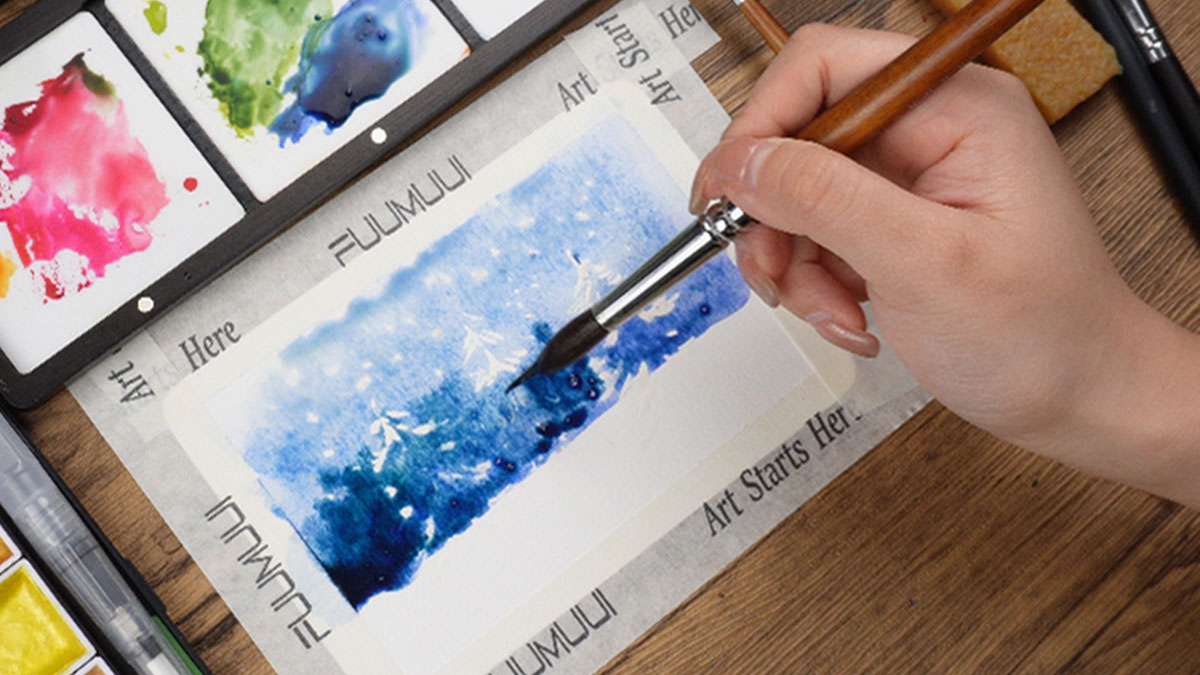
Store-bought cards are fine, but there is nothing quite like receiving a hand-painted keepsake. I wanted to create something special this year that looks professional but is actually quite forgiving to paint.

I used my favorite extended points brushes (the long tips are a game changer for details!) and some pearl pigments to add that holiday sparkle. Here are 4 unique styles I came up with—from a misty forest to a shiny ornament. Grab your brushes, and let's get festive!

More info: fuumuui.com | Instagram

RELATED:

    Here is the final collection. They look complex, but they all start with simple shapes. Let’s start with the Shiny Bauble

    You don’t need fancy tools for perfect circles. I just traced the inside of a tape roll!

    I wetted the circle and dropped in Pearl Pink and Ruby Red. The “Extended Point” on my brush helped control the water flow so it didn’t spill over the edges

    ADVERTISEMENT

    Adding the bow and some pine needles. The long tip of the brush acts like a rigger, allowing for long, unbroken lines

    This one is my favorite because it uses masking fluid. I drew the snowflakes and trees with the fluid first. It protects the white paper from the paint

    ADVERTISEMENT

    Then comes the scary part—covering everything in dark blue and indigo! It looks messy, but trust the process

    The most satisfying part: peeling off the masking fluid to reveal the crisp white snow underneath. The contrast is instantly striking

    ADVERTISEMENT

    For the forest, I used a “wet-on-wet” technique. I wetted the paper first, then dropped in green pigment. The key is not to stress about details—let the water spread the paint for you

    ADVERTISEMENT

    Once the greens dried, I added the secret ingredient: Metallic Gold pigment. I painted a “hero tree” in gold to make the forest pop

    For the wreath, I used the “Press & Lift” technique. You simply press the belly of the brush down and lift it up quickly. It creates a perfect leaf shape instantly—no drawing required

    Finally, I tapped the brush handle to splatter some paint dots for an organic, festive texture. Then, write your Christmas message, and it’s all done!

    ADVERTISEMENT

    And they are ready to be mailed! Which style would you try first?

    If you’d like to see a complete list of all the materials I used or read the full tutorial, please check out my blog post on Fuumuui!