My family and I own and operate a small jewelry store in Hannibal, Missouri (we’re AVA Goldworks in case some of you are really into Googling and awesome accessories). Unlike most stores you’ve probably heard of, we actually make our jewelry.
Unfortunately, this is almost as rare as finding the Hope Diamond in your local pawn shop (no, really- 95% of jewelry sold in the U.S. is mass produced overseas). One of the benefits of operating a small independent jewelry store is a lot of one-on-one interaction with our customers. Over the years we’ve heard some surprisingly common myths, mysteries and misconceptions about jewelry and how it’s made. If I had to guess, I’d say one of the most frequent questions I hear is, “How do you size a ring?” Most people believe the ring is heated and stretched or hammered to make it larger. Neither one of these theories is true, but I can see how people would come to this conclusion. Since we believe consumers shouldn’t be left in the dark, I’m here to shed some light on the process.
More info: avagoldworks.com
See something you like?

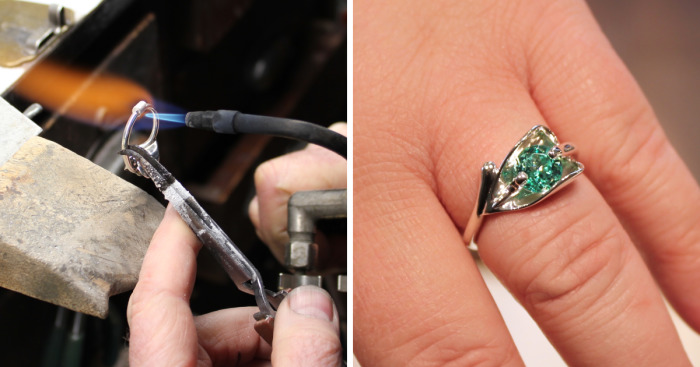
Unfortunately, the ring you want (like, REALLY want) probably doesn’t fit. Like our customer who wanted a ring similar to the one with the blue stone shown here. The following pictures are of how my dad sized the ring up for a perfect fit.
Step 1: Cutting the shank

Here, he’s cut the shank of the ring and is spreading it apart.
Step 2: Adding the silver

After the shank has been spread apart, he’ll add a new piece of silver. The piece he adds is the length needed to make the ring the proper size. This is what actually makes the ring bigger.
Step 3: Flux

Now, he’s preparing the ring for soldering by applying flux to the joints. The flux is a liquid that’s applied to help the solder flow when it is heated.
Step 4: Fired up

He uses a torch to solder the new piece of silver in the shank of the ring.
Step 5: Filing

He’ll use various files to match the new piece of silver to the original shank.


Step 6: Final file (finally)

Using an emery board with a fine sandpaper layer, he finishes shaping the shank.
Step 7: Polishing

Polishing the exterior and interior of the shank makes the ring smooth and shiny.


Step 8: Cleaning

Steam cleaning the ring removes residual polishing compound and makes it sparkle.
Step 9: Perfect fit

Ta-da! Happy customer :)
1Kviews
Share on Facebook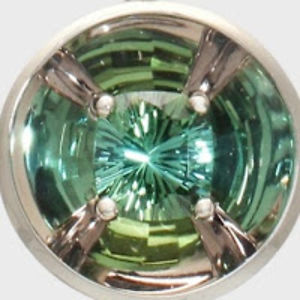

Those are cool rings. I love that you are sharing about your trade. Real craftsmen deserve real recognition!
Thank you! Check out our website for more :)
Load More Replies...Those are cool rings. I love that you are sharing about your trade. Real craftsmen deserve real recognition!
Thank you! Check out our website for more :)
Load More Replies...
27
4